Quickstart Guide
Setup Prequel to begin sharing data with your customers to any data destination. Initial setup should take less than half a day.
Prerequisite: source data requirements
Ensure every source table you'd like to transfer has a unique ID (e.g., id), a last modified timestamp column (e.g., updated_at), and can be filtered by tenant using an ID (e.g. organization_id column) or schema name.
1. Gather your deployment details
Depending on your chosen deployment option, make sure you have the following details available to complete the next steps:
| Required Information | Example Values |
|---|---|
| Your service domain name | api.prequel.co,prequel.your_domain.com |
| Your API key | sk_staging_123e4567e89b12d3a456426655440000, sk_prod_123e4567e89b12d3a456426655440000 |
| Prequel static IP | 35.192.85.117 (see here for more details) |
2. Connect your source
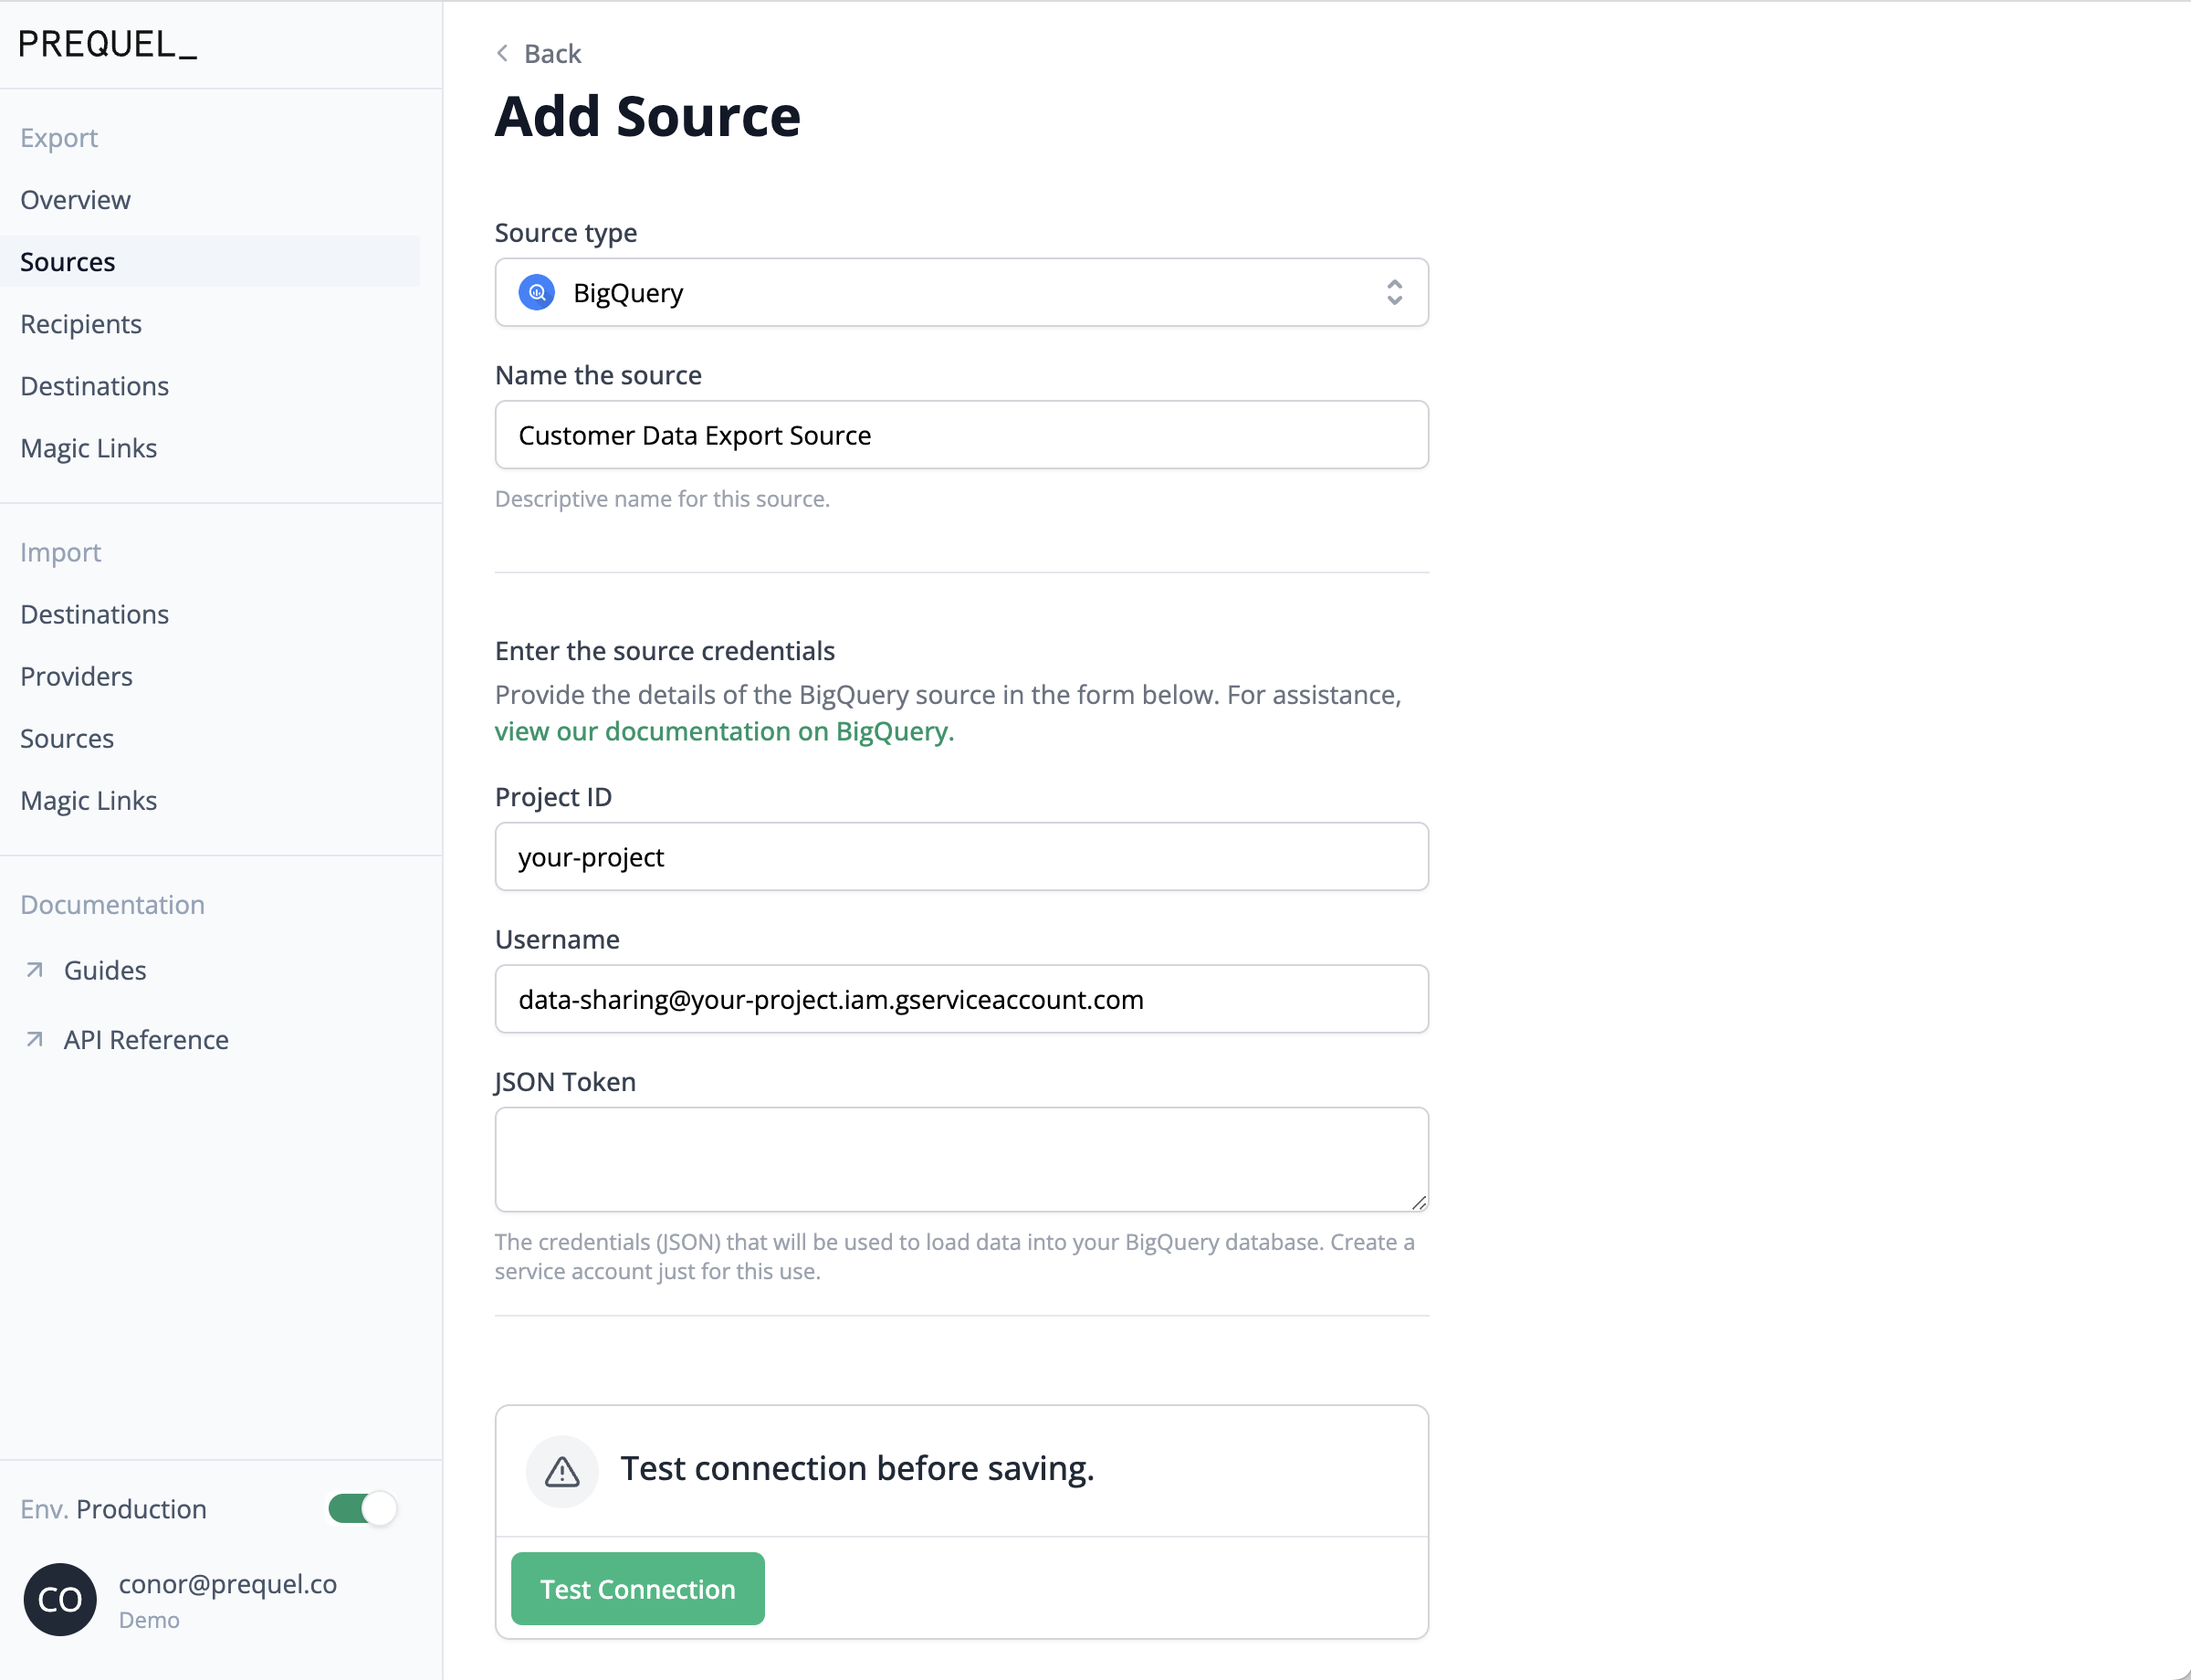
Before transferring data, the source of the data (a database, data warehouse, or object store) must be connected.
Configure your source using one of the Source configuration guides, and add it to Prequel using the sources POST request or Admin UI.

3. Configure your data model
After connecting a source, the data model should be specified to tell the Prequel service what tables to transfer, what columns to transfer, how to filter the data by owner/destination, and how to detect updates.
Once you've written your Prequel config files, you can publish to Prequel using a POST request or automate the update within your CI/CD flow using a Github Action. Posting or patching a model will automatically validate the model against the source, unless the skip_model_validation flag is enabled.
{
  "model_name": "events",
  "description": "An event is any event that occurred on the platform",
  "columns": [
    {
      "name_in_source": "id",
      "name_in_destination": "id",
      "data_type": "text",
      "is_primary_key": true
    },
    {
      "name_in_source": "log",
      "name_in_destination": "event_log",
      "data_type": "text"
    },
    {
      "name_in_source": "updated_at",
      "name_in_destination": "updated_at",
      "data_type": "timestamp",
      "is_last_modified": true
    }
  ],
  "source_table": "example_source.events",
  "organization_column": "organization_id"
}
4. Connect a destination
Once the source of data is connected and the data model is configured and validated, you can begin adding destinations to which you'd like to transfer data.
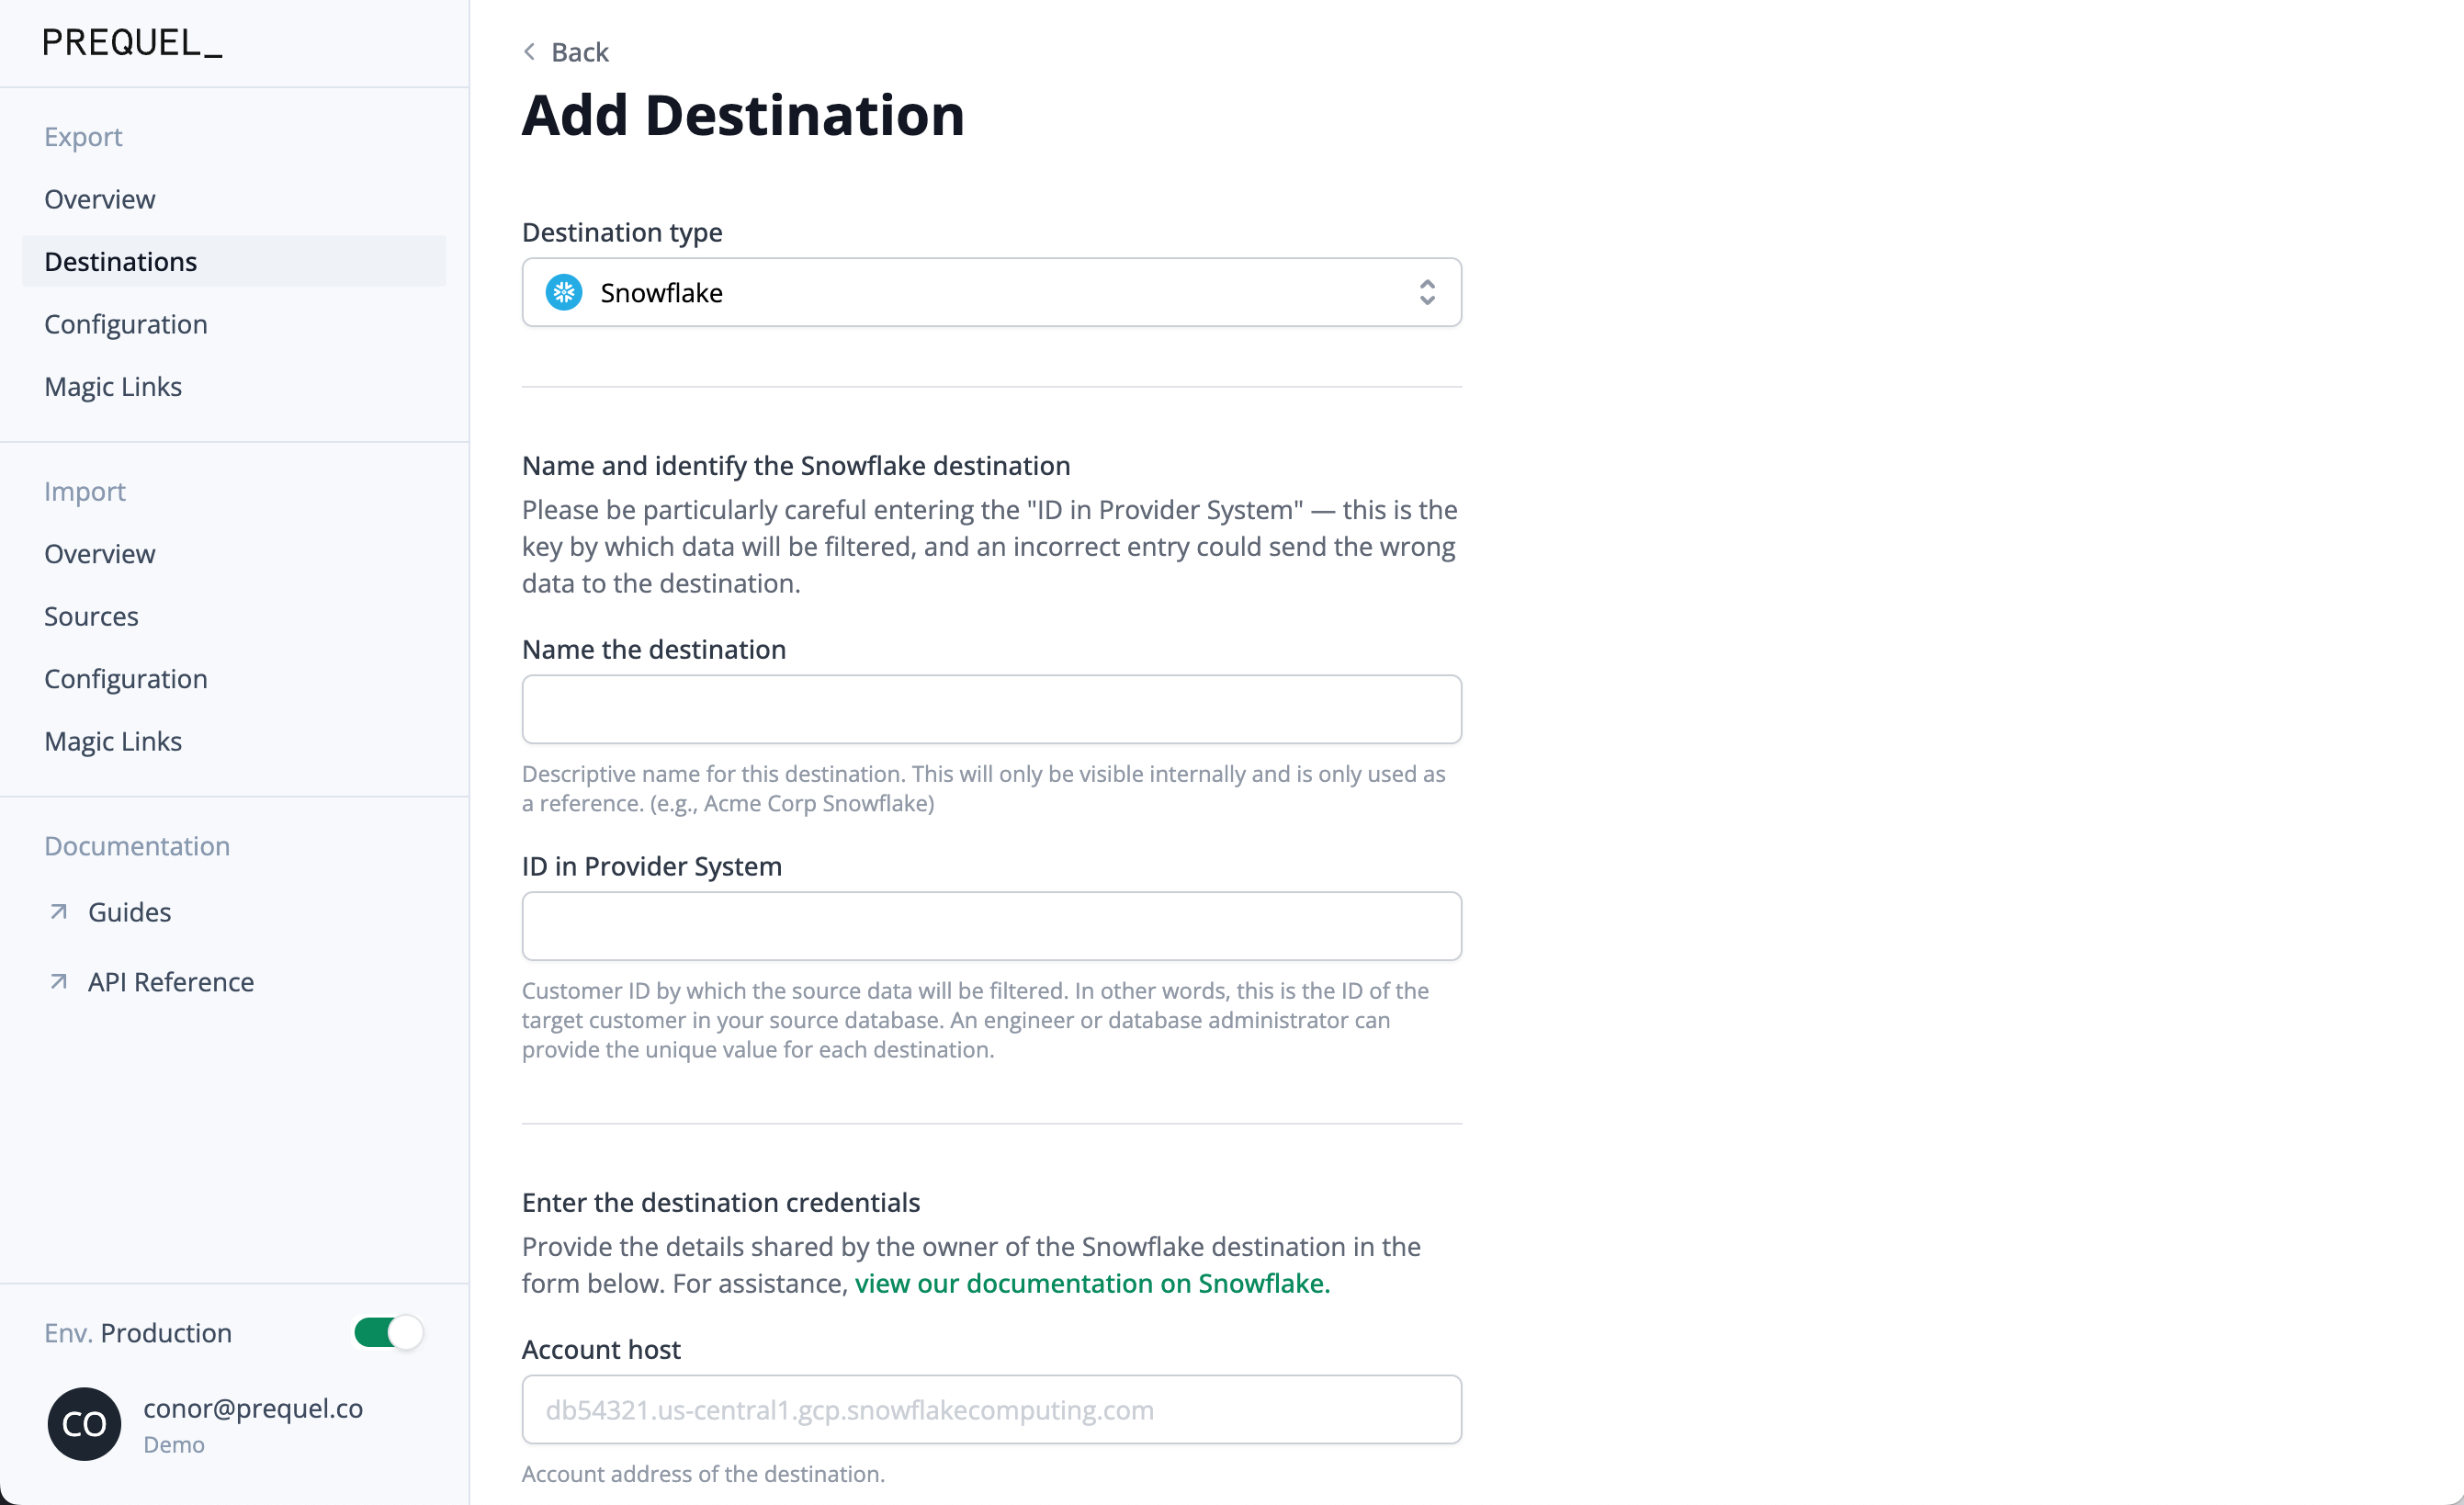
The destination should be configured using one of the Destination configuration guides, and can be added to Prequel using the destinations POST request, Admin UI, or Magic Link.

What isid_in_provider_system?
id_in_provider_systemrefers to the data recipients identifier by which data will be filtered per organization. The value assigned to this key will be matched against the values under theorganization_idcolumn provided for every table.
5. Begin a transfer
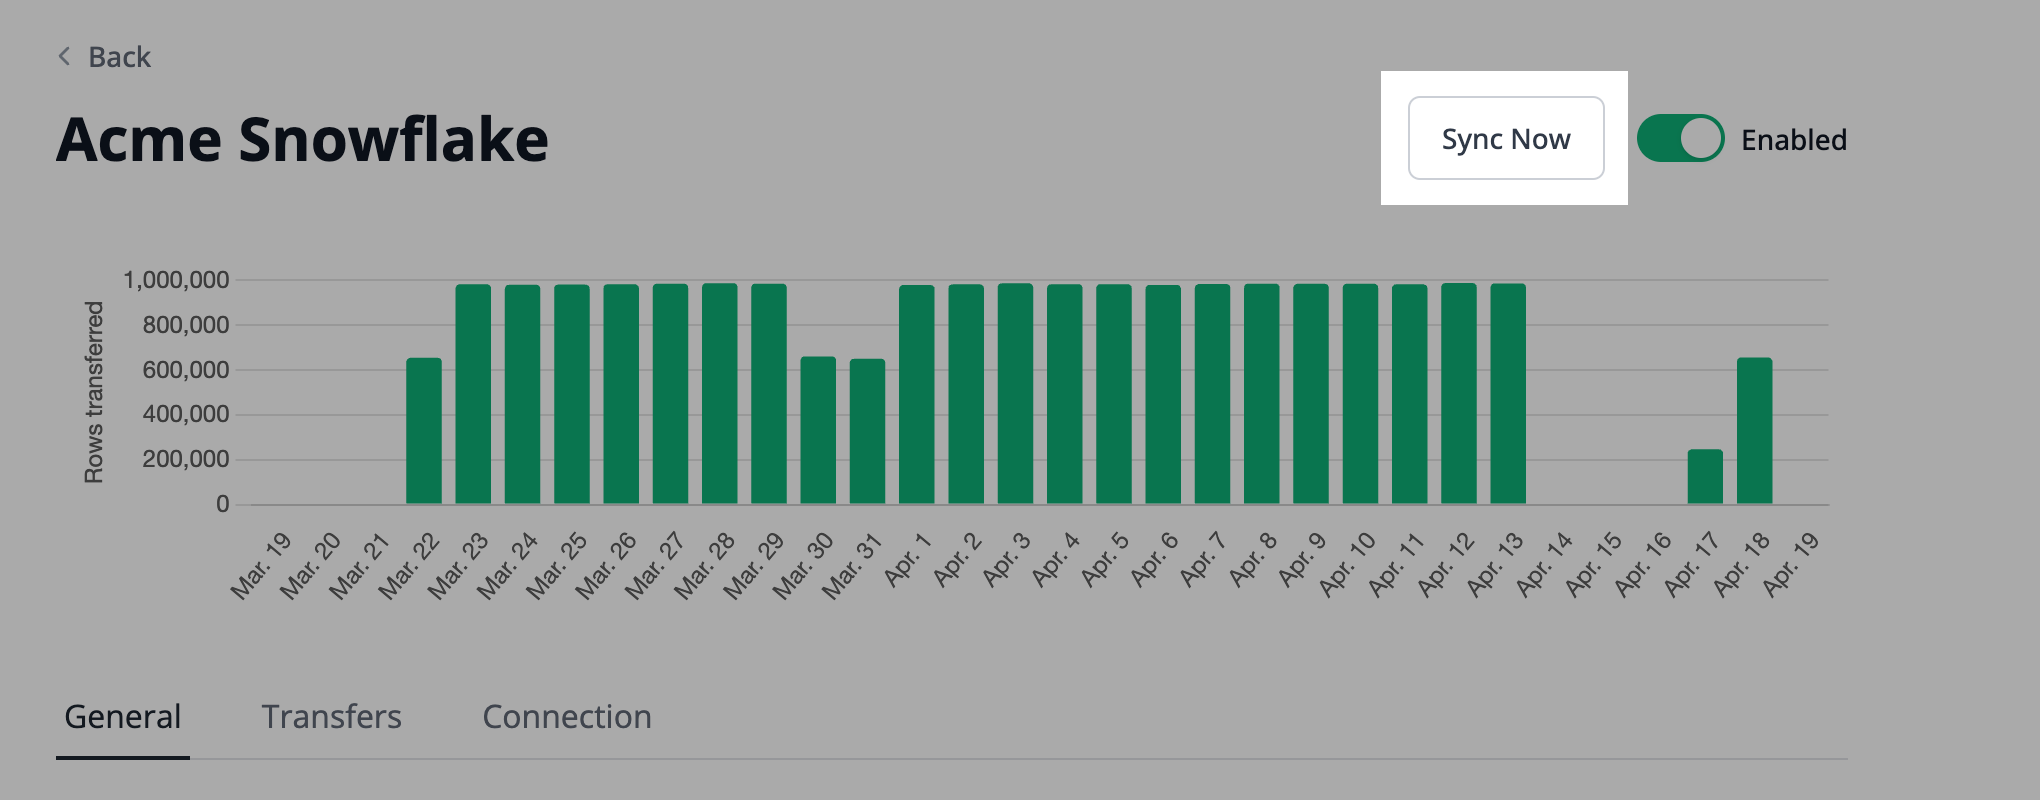
Once a source and at least one destination are added, you can initiate a transfer. You can kick off a transfer using either the POST transfer request or Admin UI.

That's it!
Once data has been successfully synced, you can query the source and destination database to validate successful data transfers. Remember, data in the destination table is filtered by the tenant_id, so each destination dataset will likely have fewer rows than the unfiltered source.
Updated about 9 hours ago