GitHub
Follow these steps to install the Prequel for GitHub GitHub app. This integration will allow you to manage Prequel config files within your own GitHub organization.
Step 1: Create a Prequel specific repository on GitHub (or verify it already exists)
- Navigate to the GitHub organization Overview page and click "New"

- Name and create an empty repository. Any name is fine -- for example "prequel_config" -- but defer to your internal naming conventions.
- Within the repository, create two folders.
prequelat the top level, andmodelswithin that folder. - In the
modelsfile, you should create one config file for each destination table you'd like to transfer. Details on creating the config files can be found in the Configuration documentation.

You may prefer to use this GitHub template to get started, versus starting from scratch.
Step 2: Install the Prequel for GitHub app
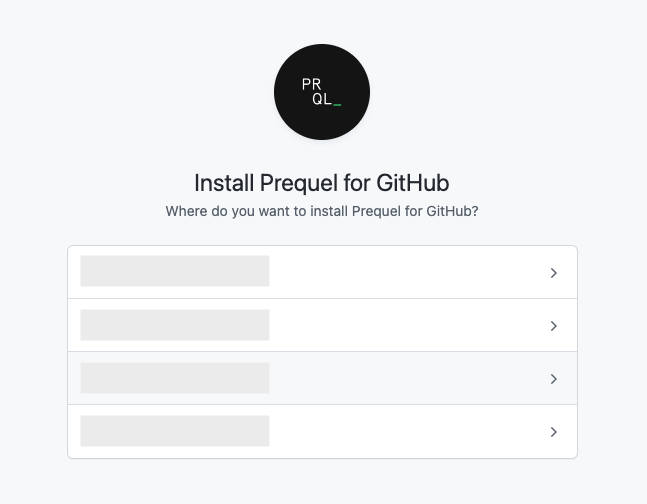
- Go to https://github.com/apps/prequel-for-github and click the Install button.
- Select the organization for which you'd like to install the Prequel for GitHub app. This should be your company organization.

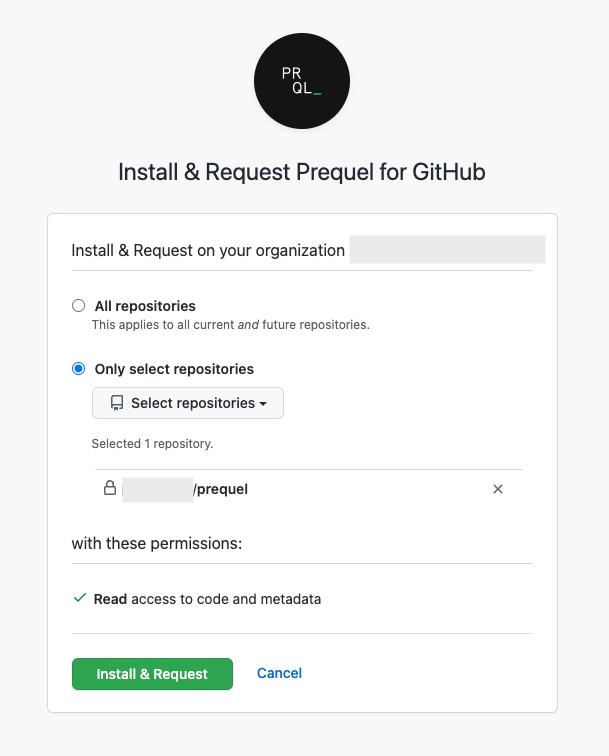
- On the next screen, select "Only select Repositories", and select the repository created in Step 1. Click Install (or Install & Request based on your Role).

- You're done! Notify your contact at Prequel that you have installed the app to complete the configuration and link your GitHub app installation with your account.
Updated 5 months ago