AWS RDS
Follow these steps to configure your source database and connect to Prequel. Step 1 (creating a read replica) is optional, but will ensure the Prequel service does not put any unnecessary load on your primary database during data transfer.
Step 1: Create read replica (optional)
- In your Amazon RDS Dashboard, click the PostgreSQL instance you want to replicate.
- On the database page, click Actions, then select Create read replica from the drop down.

- In the Instance specifications sections, specify the instance type for the read replica. It can be smaller than the main instance.
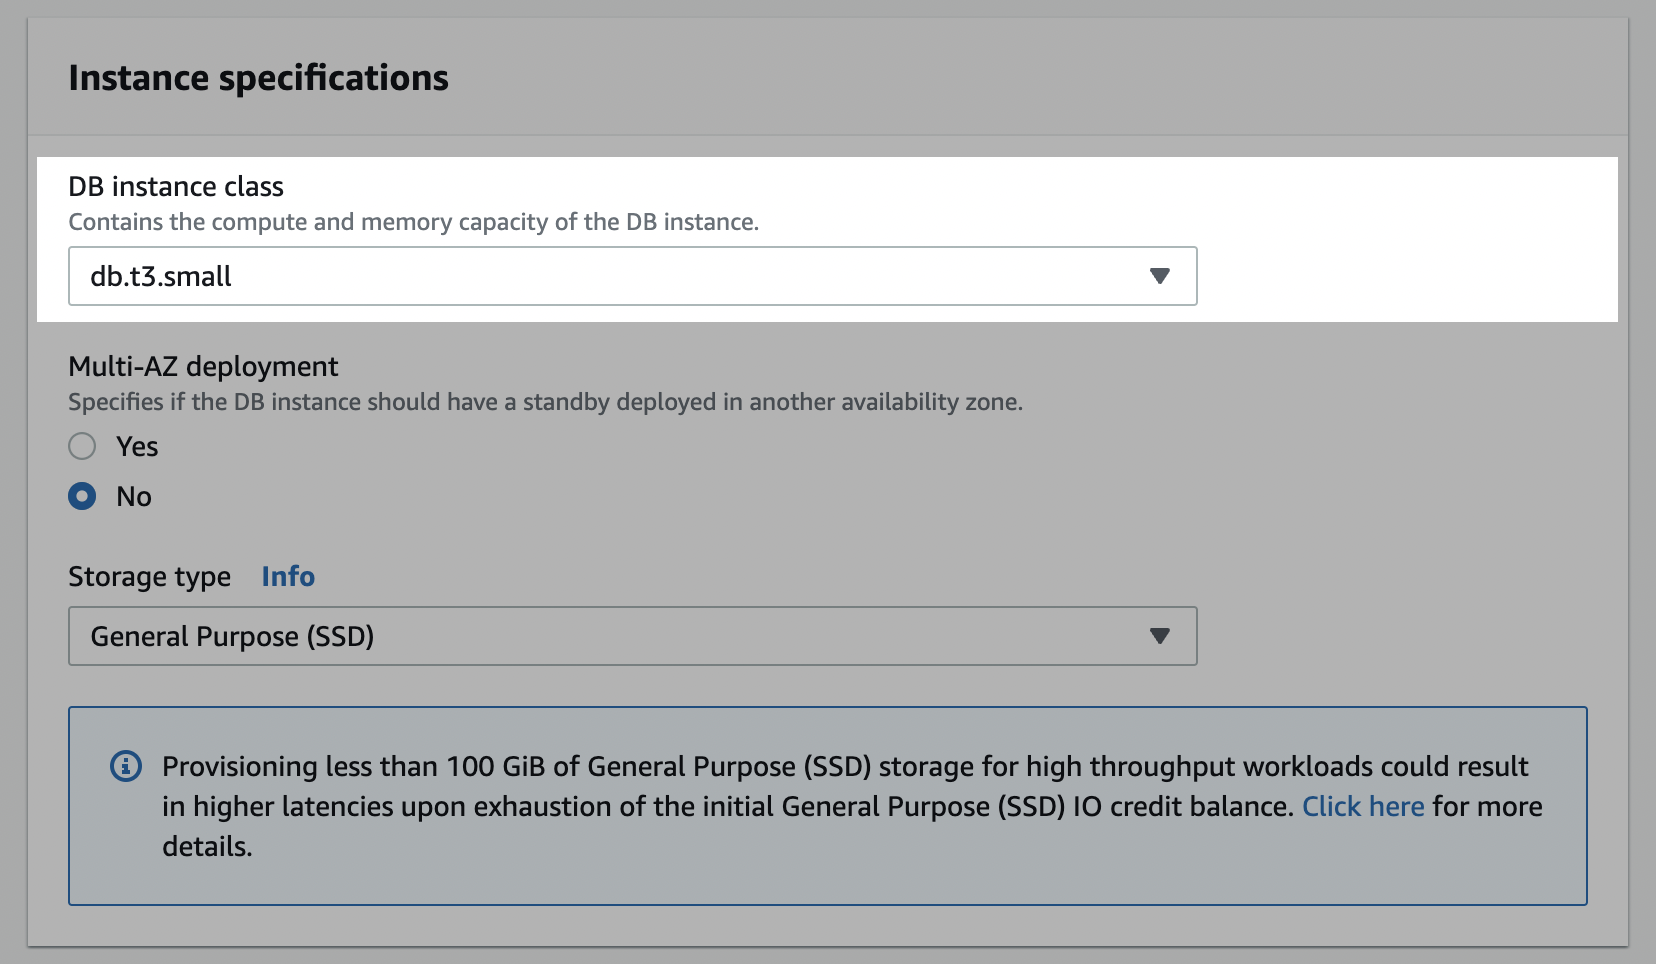
- In the Network & Security section, under Publicly accessible select Yes to ensure that the read replica is accessible from outside your VPC. Note that it is still only accessible through whitelisted IPs at this point.

- In the Settings section, enter a DB instance identifier. For example,
source-transfer-service-read-replica.

- Click Create read replica.
- The read replica will now start
creating.
Step 2: Allow access
Allow write access to a portion of your Aurora PostgreSQL database or the reader you created in Step 1.
Configure the Security Group
- In your Amazon RDS > Databases list, click the PostgreSQL instance you want to connect to Prequel.
- In the database page, in the Connectivity & security tab, make note of the Endpoint and the Port number.

- In the Security section, ensure that set the Publicly accessible setting is set to Yes to ensure that the destination is accessible from outside your VPC. Note that it is still only accessible through whitelisted IPs at this point.
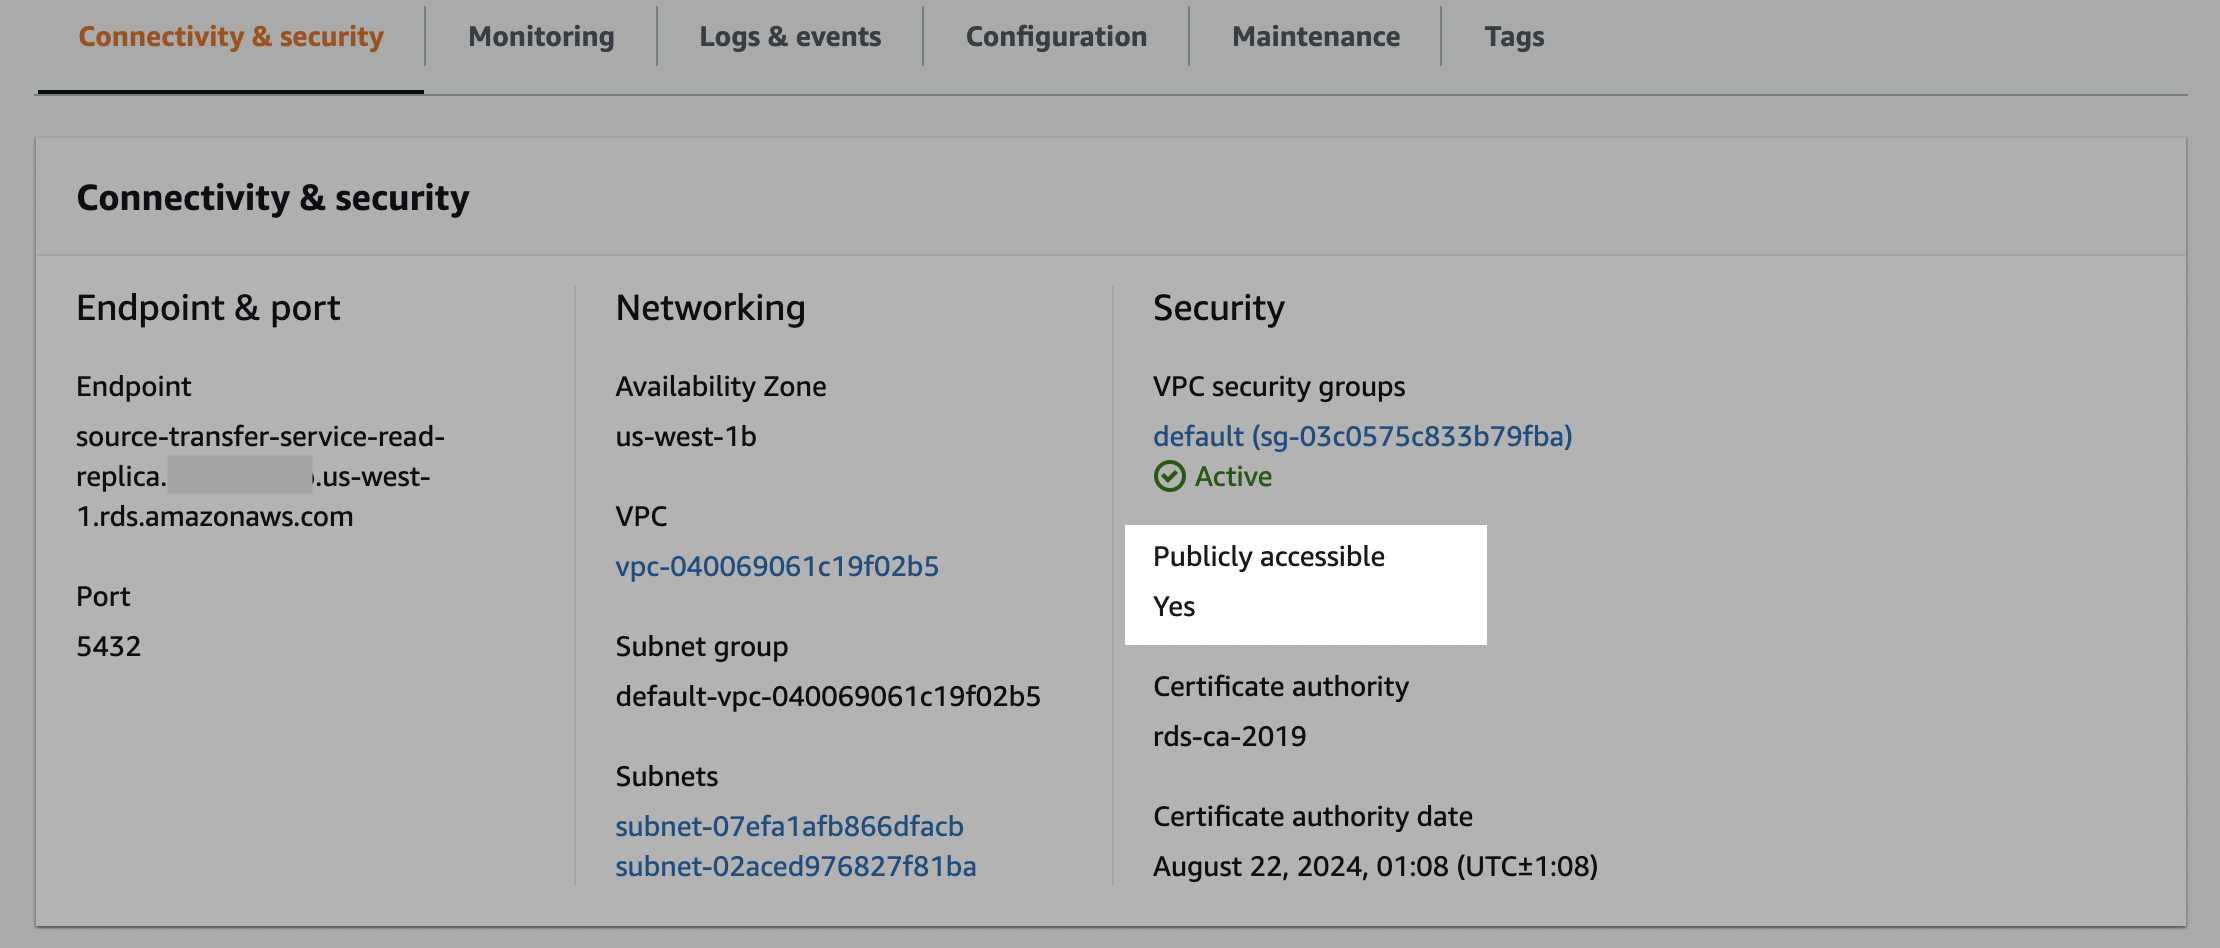
- Click one of the VPC security groups (usually
default). Note: VPC groups are permissive (vs. restrictive) and for instances with multiple VPC security groups, only one needs to be configured with the new inbound rule.
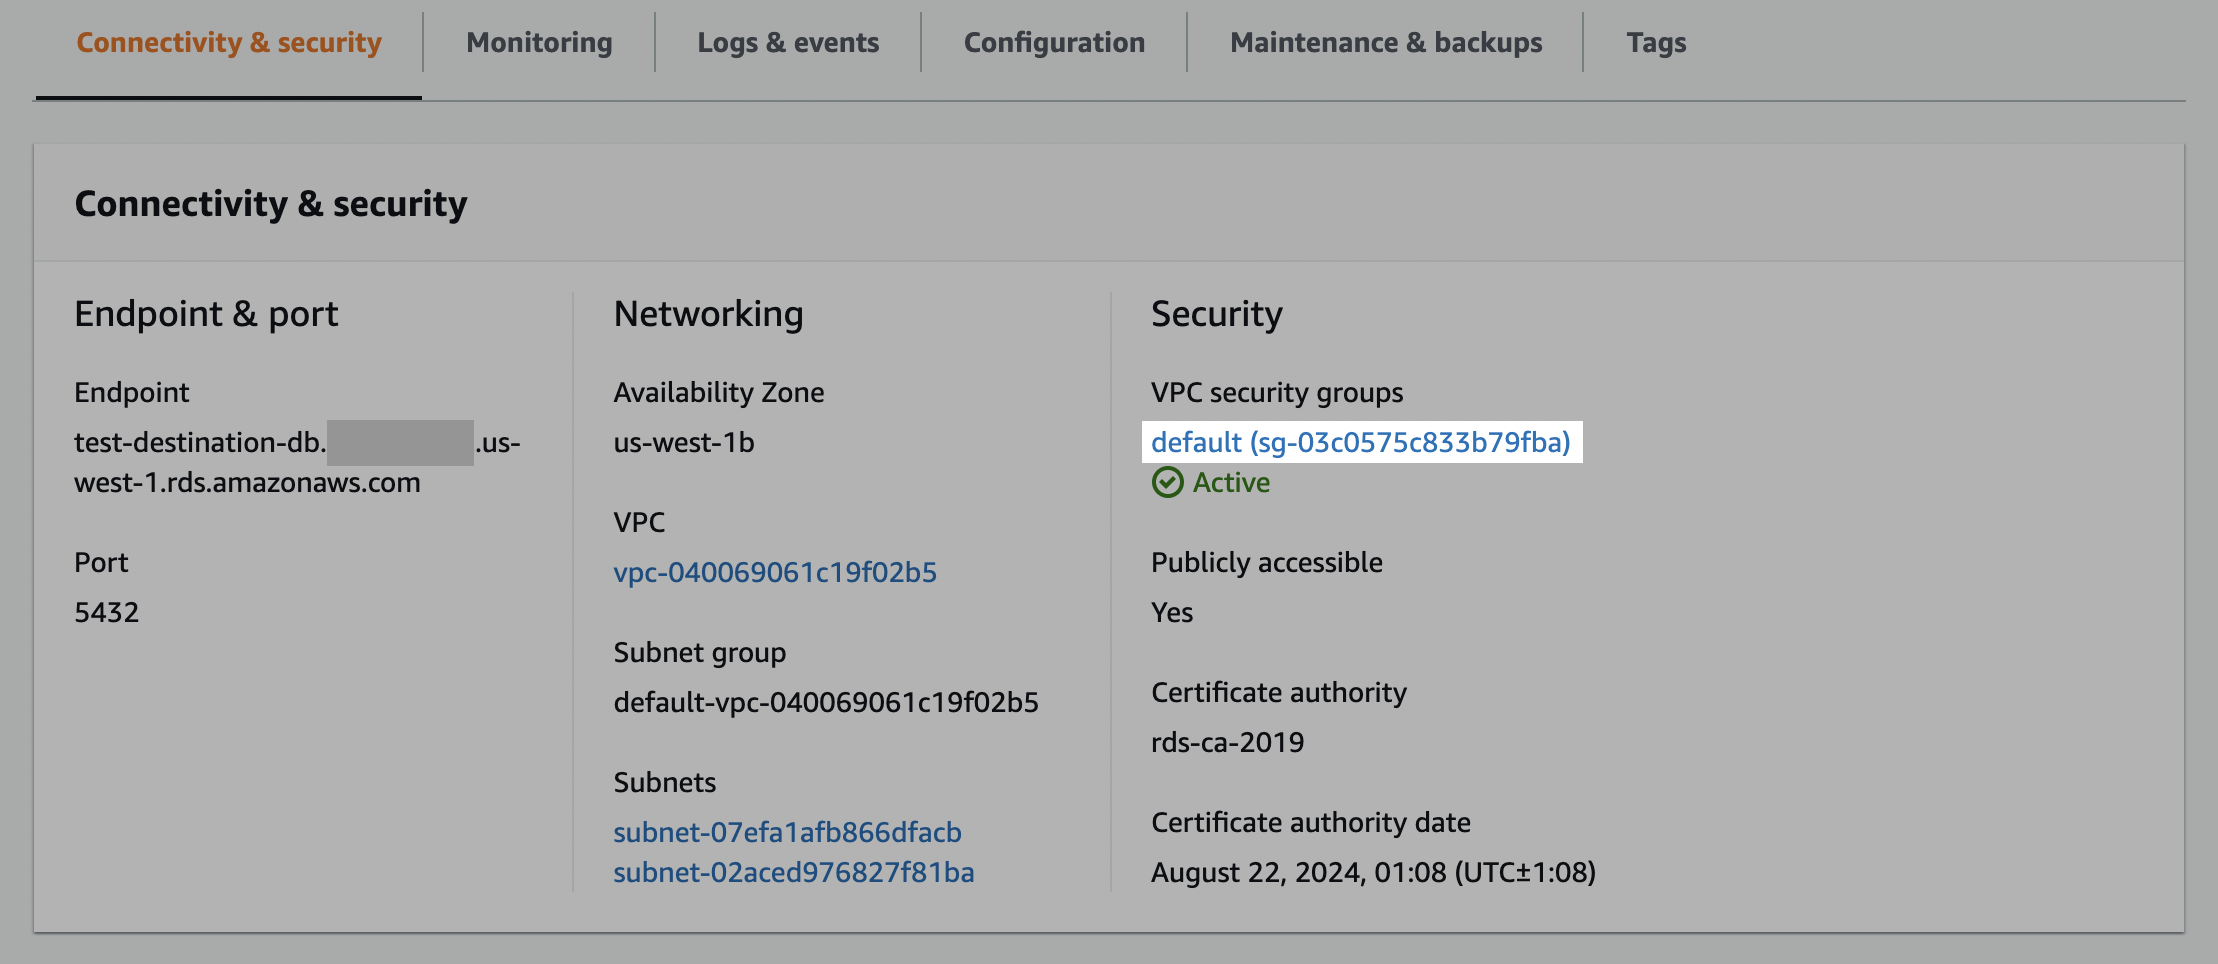
- In the Security Groups section, select the Inbound rules tab.
- Click Edit inbound rules and then click Add rule.
- Edit the newly created rule of type Custom TCP with the Port range noted in the first step (usually
5432) and aCustomSource value that includes all of the service IPs. Note: you will need to add/32to the end of each IP (CIDR notation). - Click Save rules.
Configure network ACLs (access control list)
For database instances in a VCP
- In your RDS dashboard, select the PostgreSQL instance.
- Click the link to the instance's VPC.

- In the VPC menu, click the VPC ID.

- In the Details section, click on the link under Main network ACL.
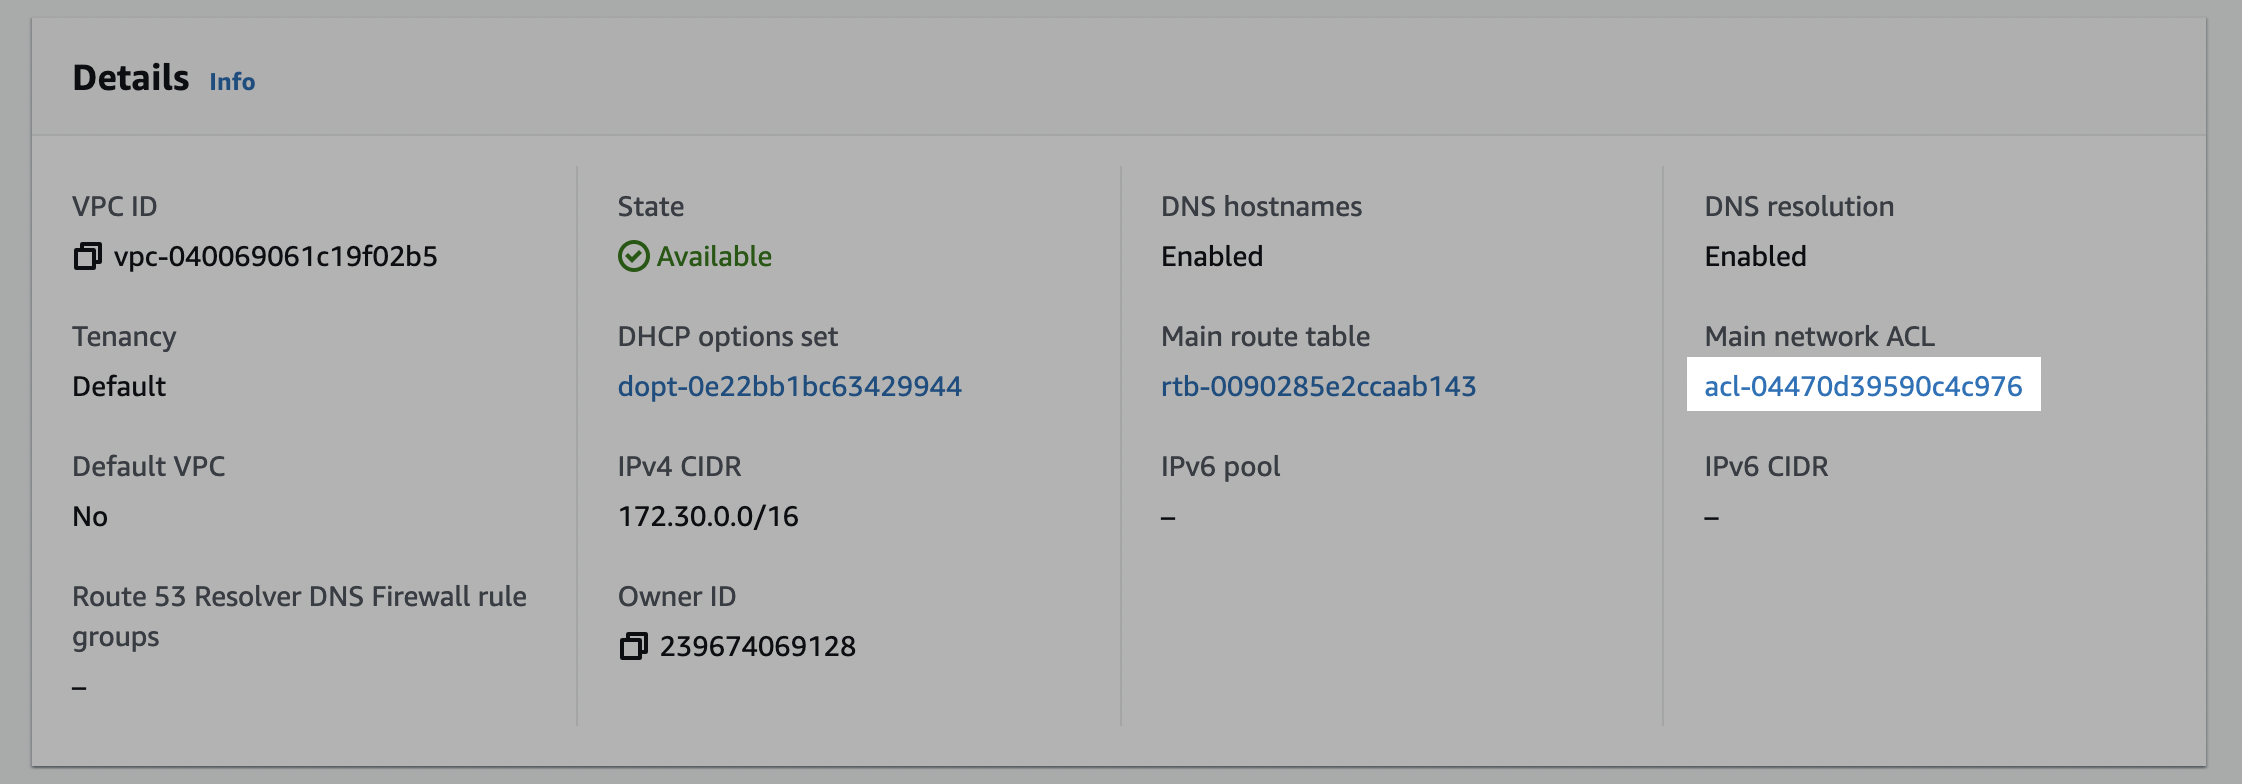
- Click on the network ACL ID.

Edit the inbound rules
- Click on the Inbound rules tab, and check if there is an existing rule with a Source of
0.0.0.0/0set toAllow. (This is a default rule created by AWS. If this rule already exists, skip to Edit outbound rules.)

- Create the inbound rule (if it doesn't exist). Click Edit inbound rules and either Add new rule or edit an existing rule to allow access to the port number of your database instance (usually
5432) from the Prequel static IP. Click Save changes.
Edit the outbound rules
- In the ACL menu, select the Outbound rules tab, and check if there is an existing rule with a Destination of
0.0.0.0/0set toAllow. (This is a default rule created by AWS. If this rule already exists, skip to the next step.)

- Create the outbound rule (if it doesn't exist). Click Edit outbound rules and edit the rules to allow outbound traffic to ports 1024-65535 for Destination
0.0.0.0/0.
Step 3: Create a read-only user
- Open a connection to your Amazon RDS PostgreSQL database.
- Create a user for Prequel by executing the following SQL command.
CREATE USER <username> PASSWORD '<some-password>' NOSUPERUSER NOCREATEDB NOCREATEROLE;;Grant user read-only access to all relevant schemas. Though public is the default schema, replace with the schema name if needed.
GRANT USAGE ON SCHEMA "public" TO <username>;
GRANT SELECT ON ALL TABLES IN SCHEMA "public" TO <username>;- Repeat the step above for all schemas with data that needs to be synced. (Replace "public" with the correct schema name) a. Note: if you prefer, you may instead grant usage only the desired tables.
GRANT USAGE ON SCHEMA "public" TO <username>;
GRANT SELECT ON <table_name_a> TO <username>;
GRANT SELECT ON <table_name_b> TO <username>;
GRANT SELECT ON <table_name_c> TO <username>;
Step 4: Add source to Prequel
Use the cURL request to add the configured source to Prequel.
- The name is a descriptive name of the source for your purposes (i.e., a description)
- The host [for example,
6.7.8.9oryour-db.sd8jekhrlkhla.us-east-1.rds.amazonaws.com] - The port [most likely
5432] - The vendor:
postgres - The database, from Step 2.
postgresby default, or whatever database you prefer to use - The username from Step 3
- The password from Step 3
Updated 2 months ago