> ## Documentation Index
> Fetch the complete documentation index at: https://docs.prequel.co/llms.txt
> Use this file to discover all available pages before exploring further.
# PostgreSQL
> Connect your PostgreSQL database as a source
To avoid putting unnecessary load on your primary database during data transfer, we recommend connecting to a read replica. Step 1 covers creating one on AWS. This step is optional, and you can connect directly to your primary instance if you prefer.
## Step 1: create a read replica (optional)
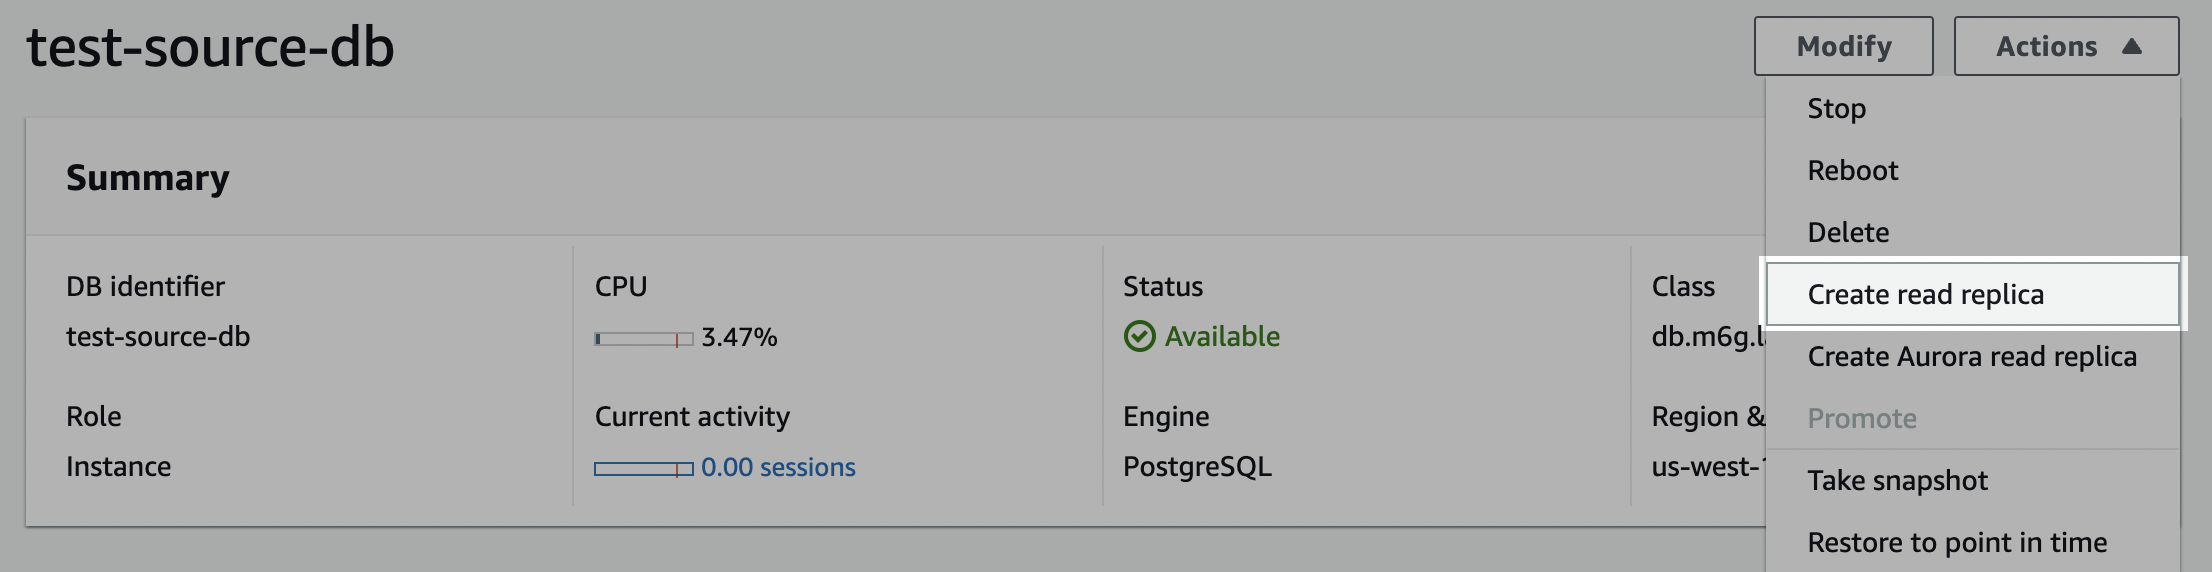
In your Amazon RDS dashboard, click the PostgreSQL instance you want to replicate. On the database page, click **Actions**, then select **Create read replica** from the drop-down.
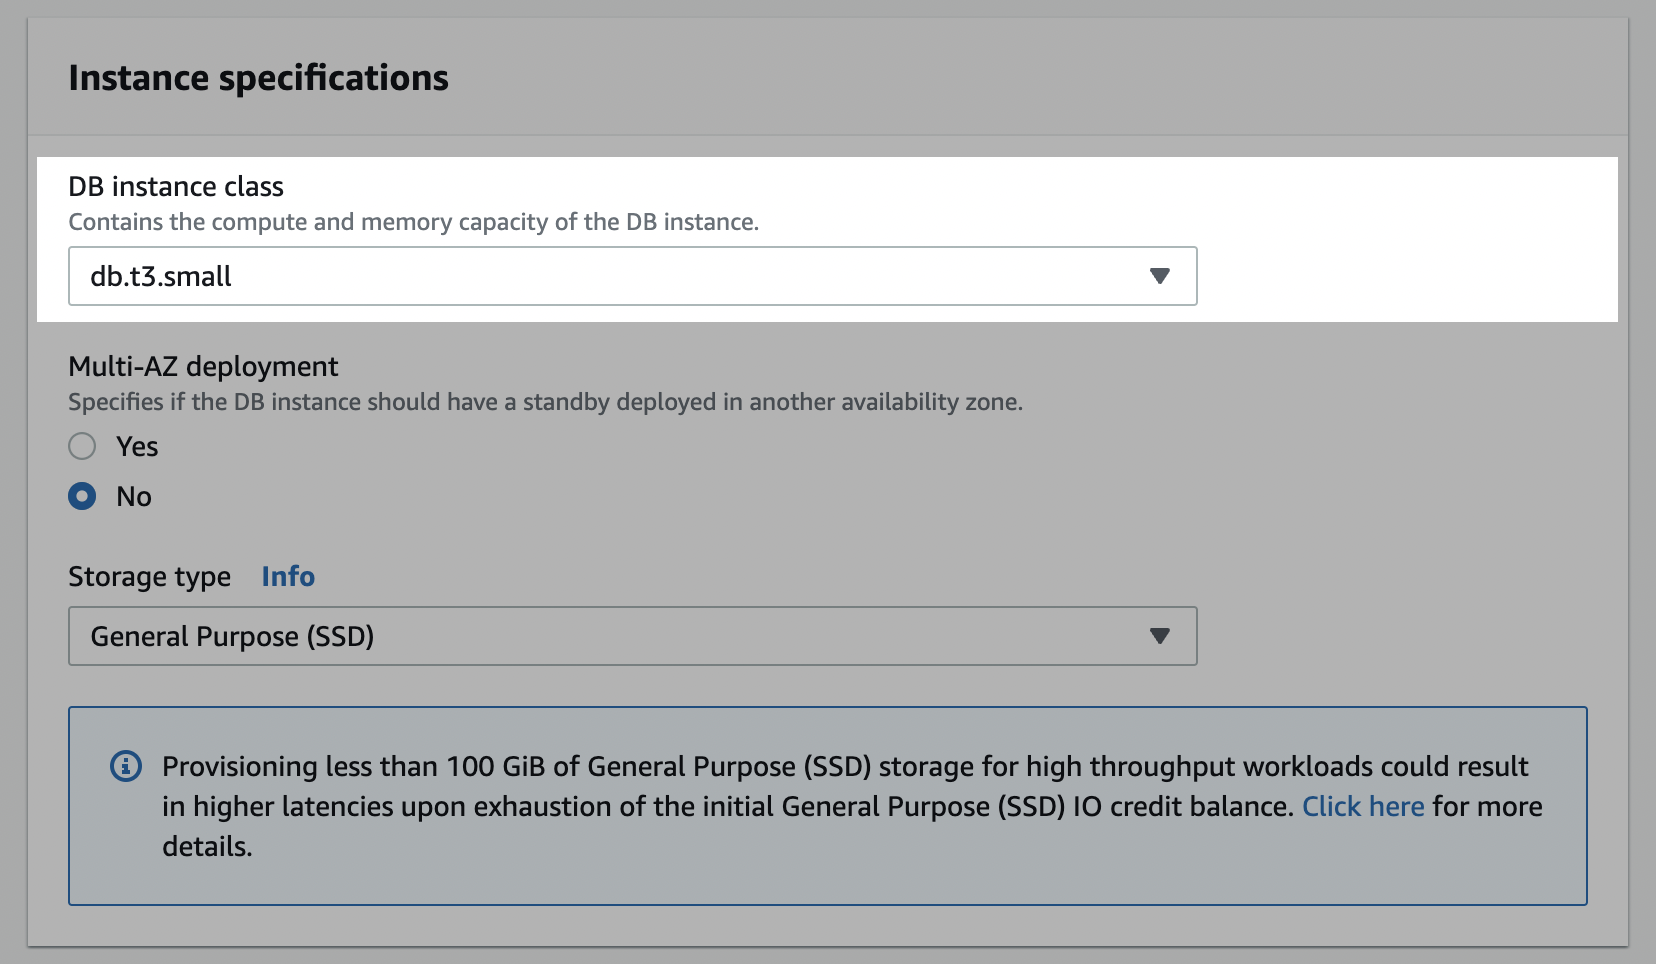
In the **Instance specifications** section, specify the instance type for the read replica. It can be smaller than the main instance.
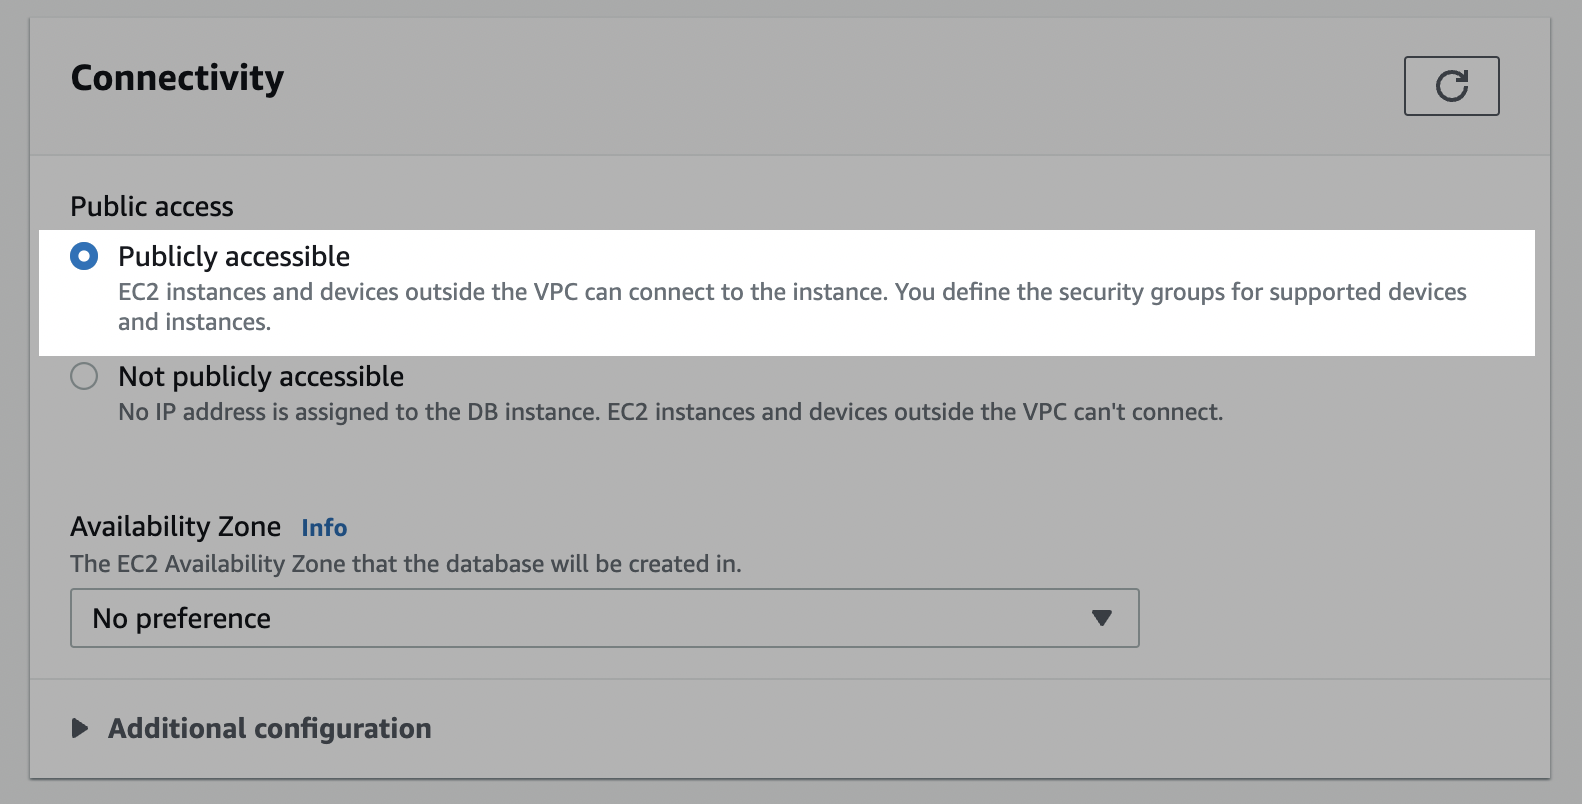
In the **Network & Security** section, under **Publicly accessible**, select **Yes** so that the read replica is reachable from outside your VPC. It remains accessible only through whitelisted IPs. If you plan to connect through an SSH tunnel, you can leave this set to **No**.

In the **Settings** section, enter a **DB instance identifier**, such as `source-read-replica`, then click **Create read replica**.

In your Amazon RDS dashboard, click the Aurora PostgreSQL instance you want to add a reader to. On the database page, click **Actions**, then select **Add reader** from the drop-down.

In the **Settings** section, enter a **DB instance identifier**, such as `source-reader`. In the **DB instance class** section, specify the instance type. It can be smaller than the main instance, though AWS may set a lower bound.
In the **Connectivity** section, select **Publicly accessible** so that the reader is reachable from outside your VPC. It remains accessible only through whitelisted IPs. If you plan to connect through an SSH tunnel, you can leave this set to **Not publicly accessible**. Click **Add reader**.
## Step 2: allow network access
Allow read access to your PostgreSQL database, or to the read replica you created in Step 1, from the static IP. Reach out to your account representative for the static IP address to use.
### Configure the security group
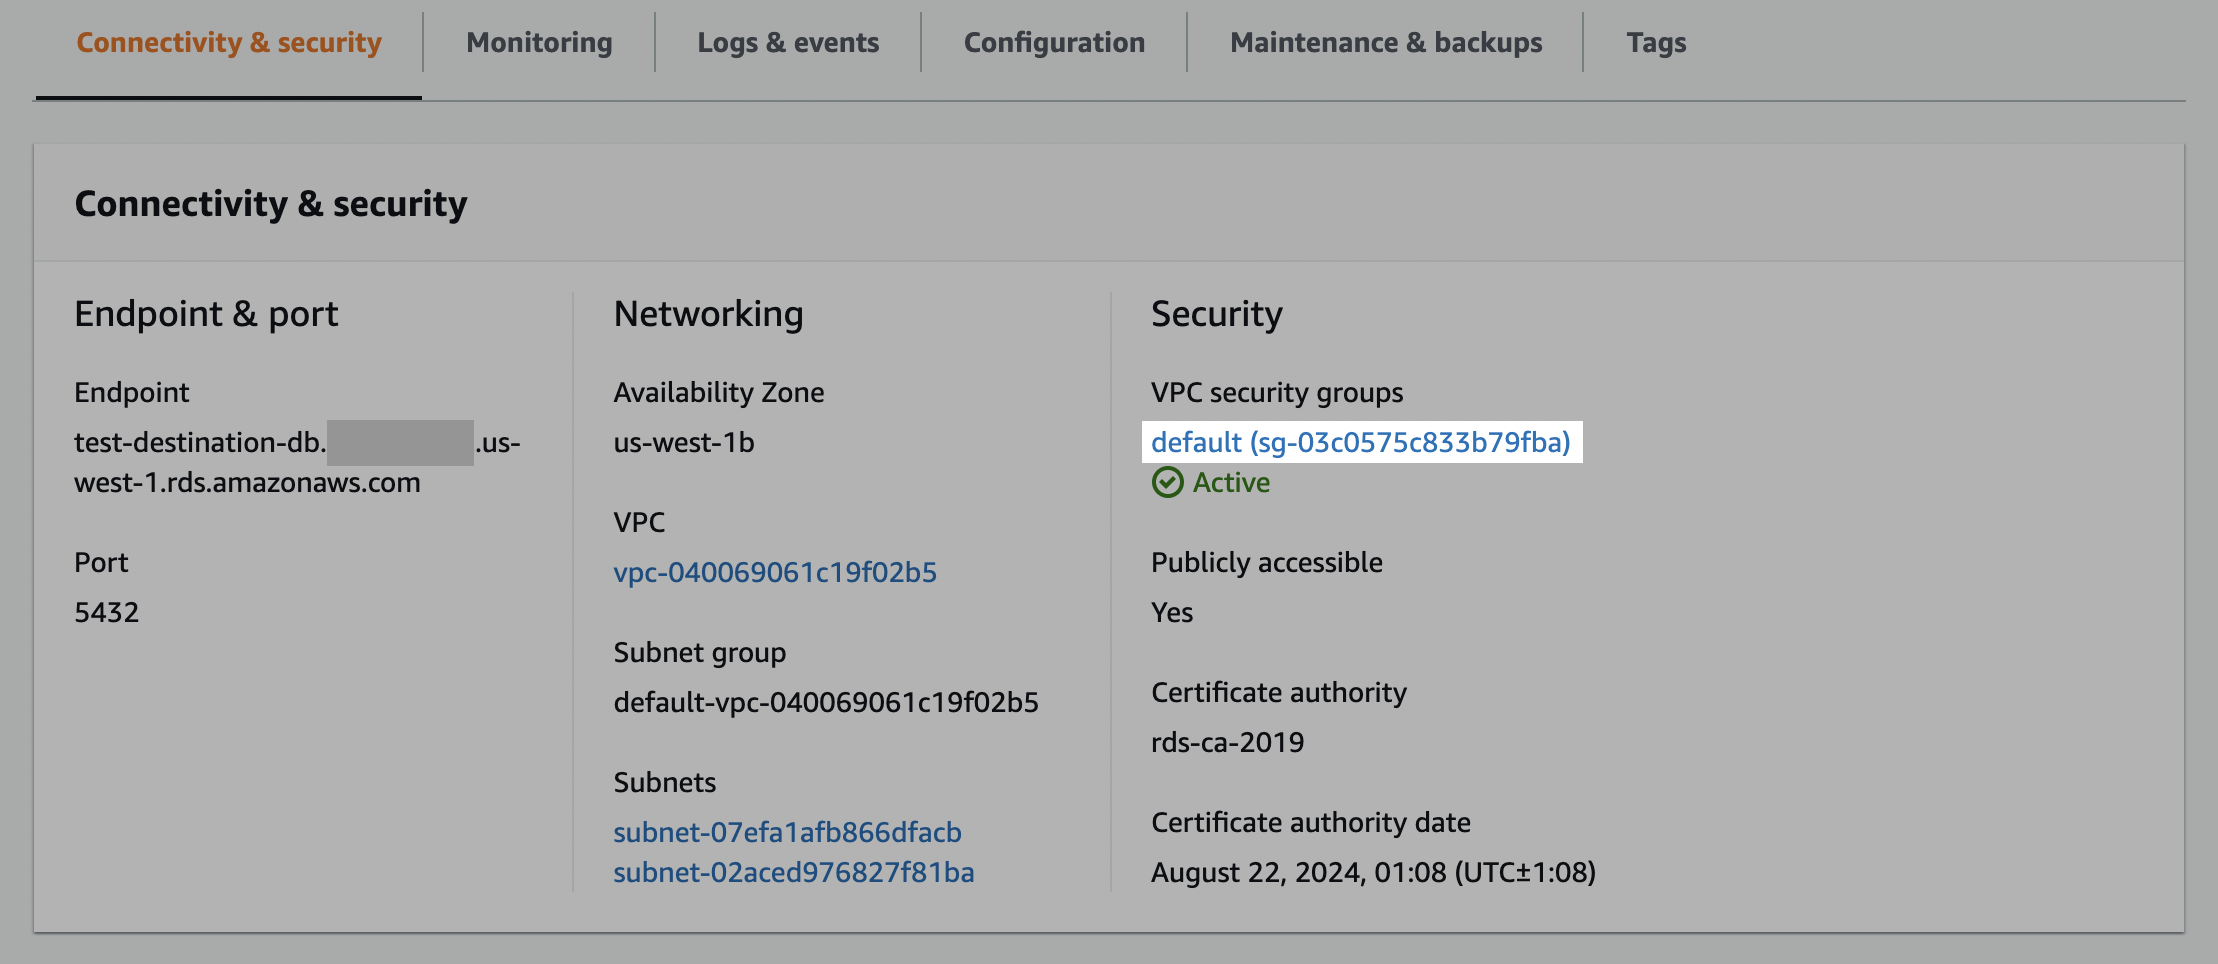
In your **Amazon RDS** > **Databases** list, click the PostgreSQL instance you want to connect. In the **Connectivity & security** tab, make a note of the **Endpoint** and the **Port** number.

Click one of the VPC security groups (usually `default`). VPC groups are permissive rather than restrictive, so for instances with multiple security groups, only one needs the new inbound rule.
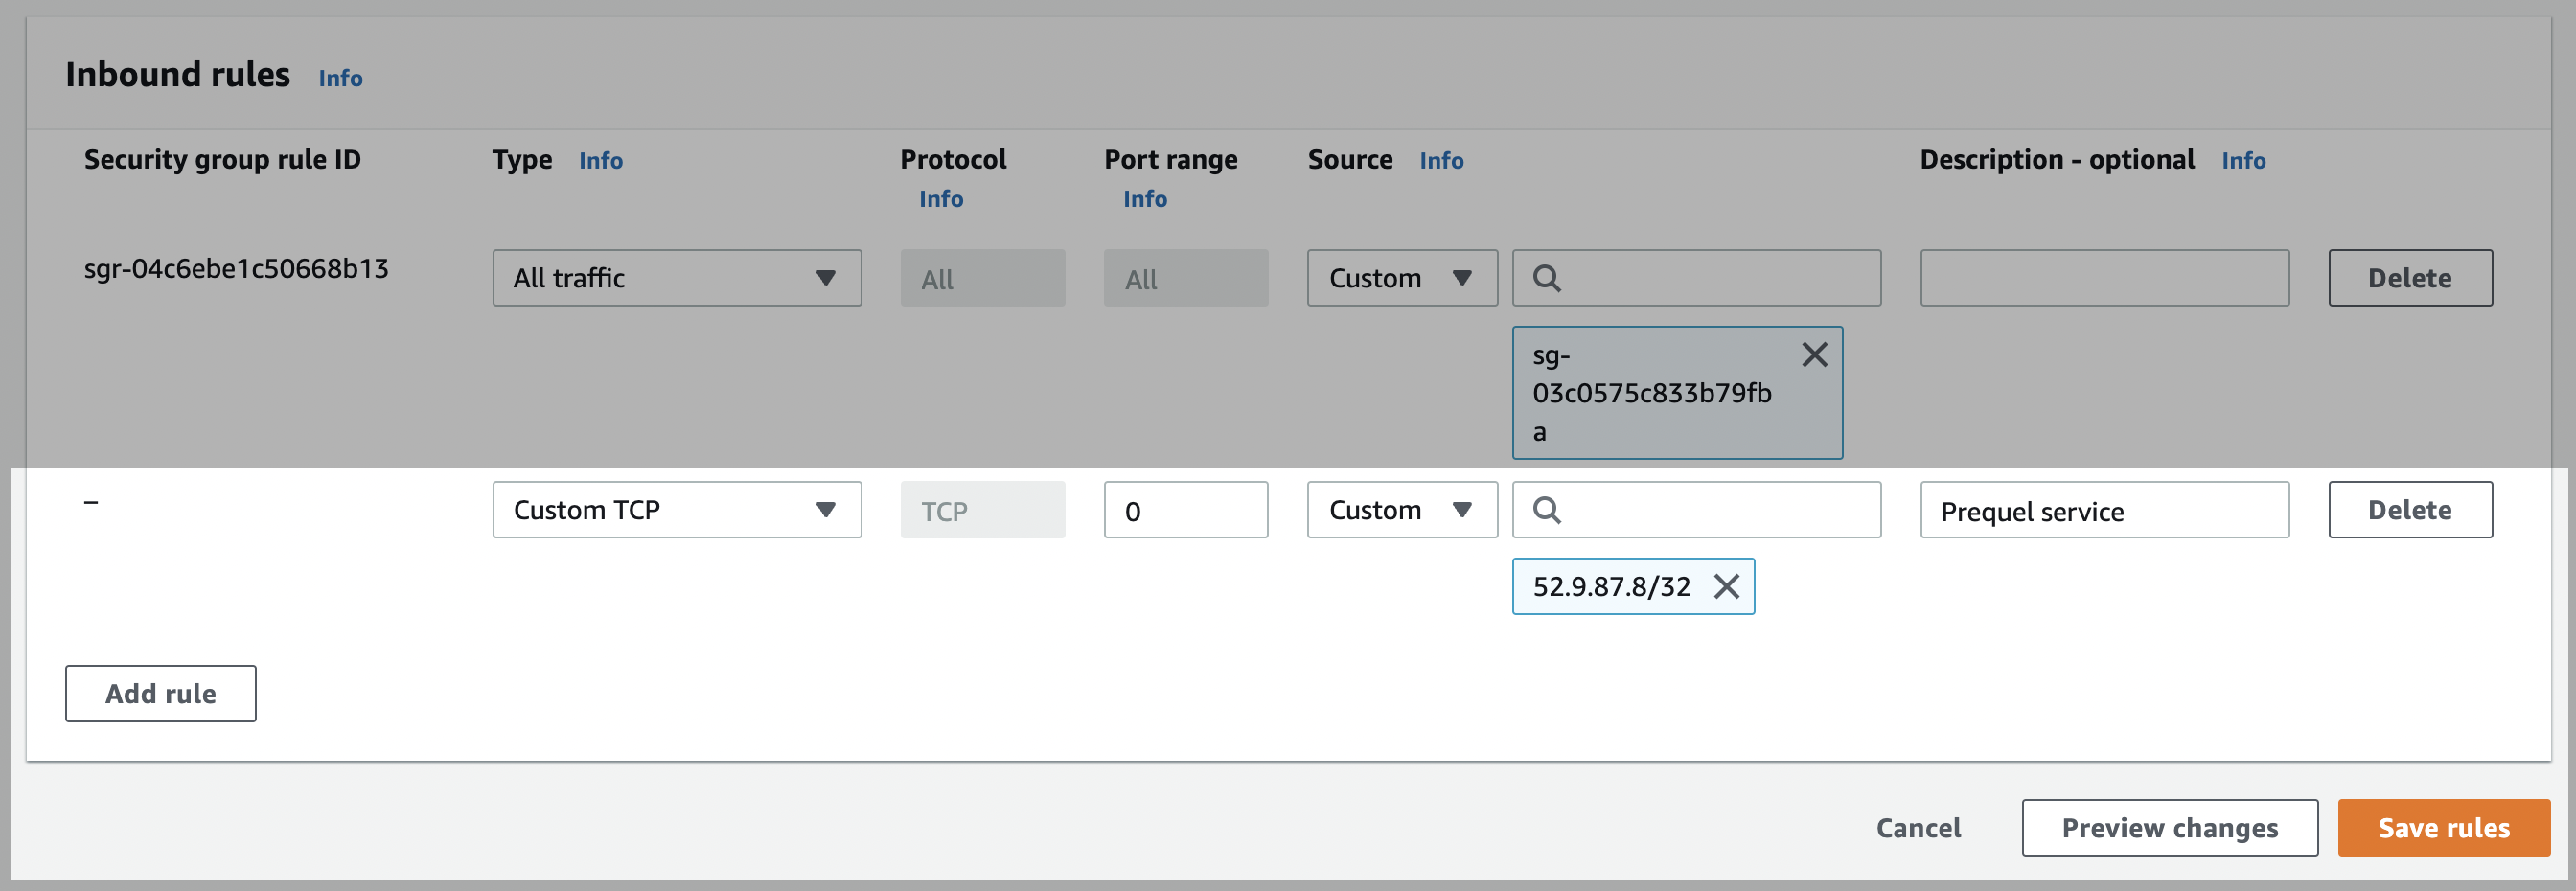
Select the **Inbound rules** tab, click **Edit inbound rules**, then click **Add rule**. Set the rule type to **Custom TCP**, set the **Port range** to the port you noted (usually `5432`), and set a `Custom` **Source** value that includes the static IP. You need to add `/32` to the end of the IP to express it in CIDR notation. Click **Save rules**.
### Configure the network ACL
For database instances in a VPC, you also need to allow traffic at the network ACL level.
In your RDS dashboard, select the PostgreSQL instance, then click the link to the instance's VPC.

Click the **VPC ID**. In the **Details** section, click the link under **Main network ACL**, then click the network ACL ID.


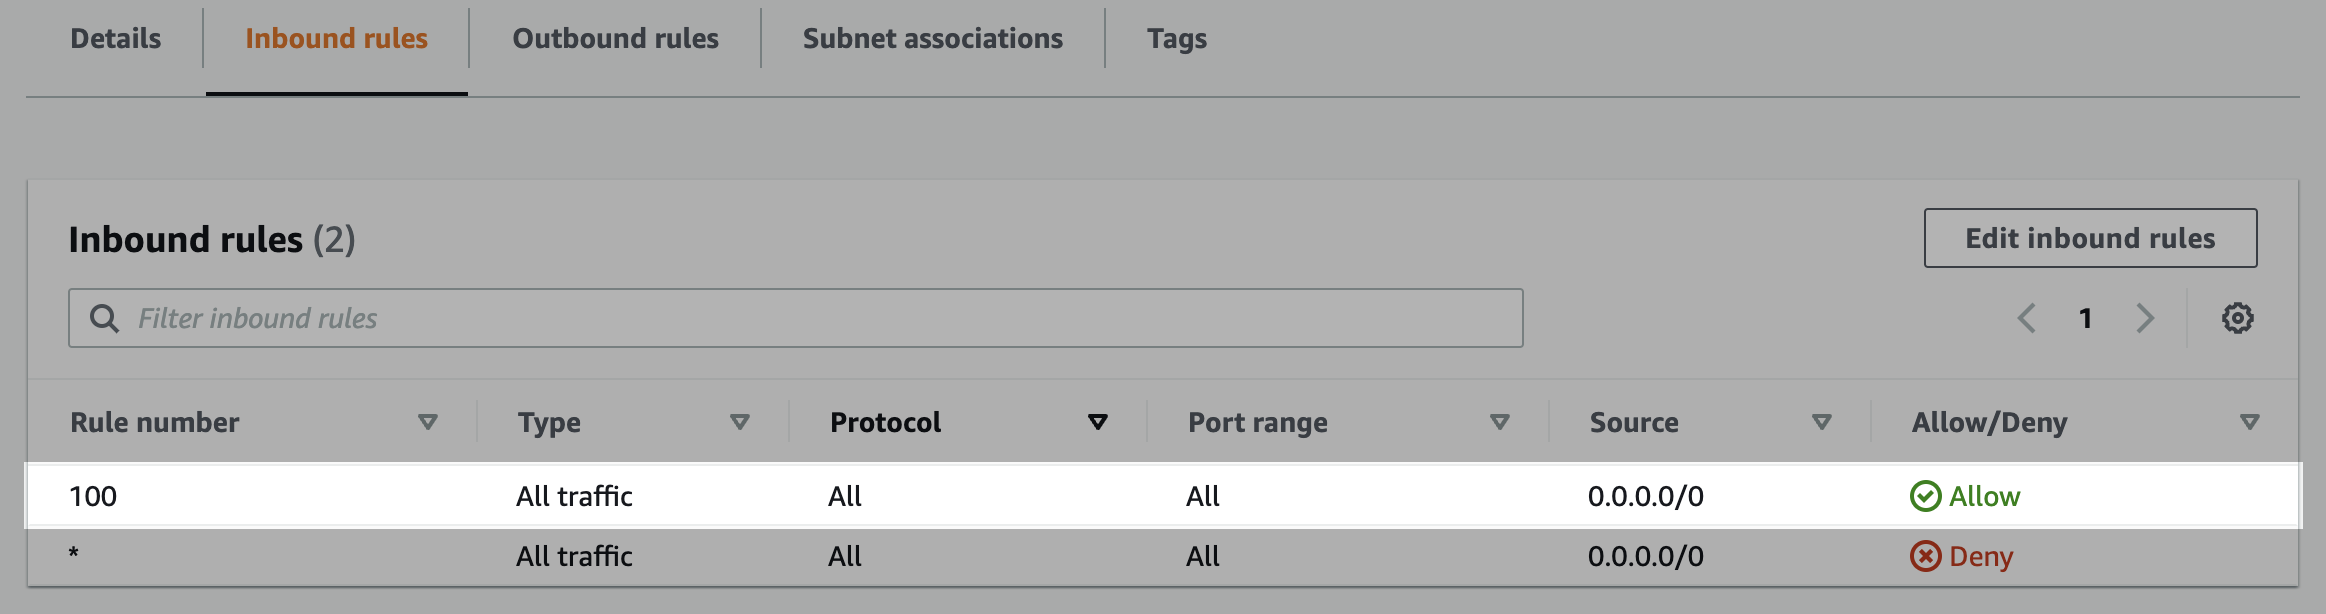
Click the **Inbound rules** tab and check for an existing rule with a **Source** of `0.0.0.0/0` set to `Allow`. This is a default rule created by AWS, and if it already exists, you can skip to the outbound rules. Otherwise, click **Edit inbound rules**, add a rule allowing access to your database port (usually `5432`) from the static IP, and click **Save changes**.
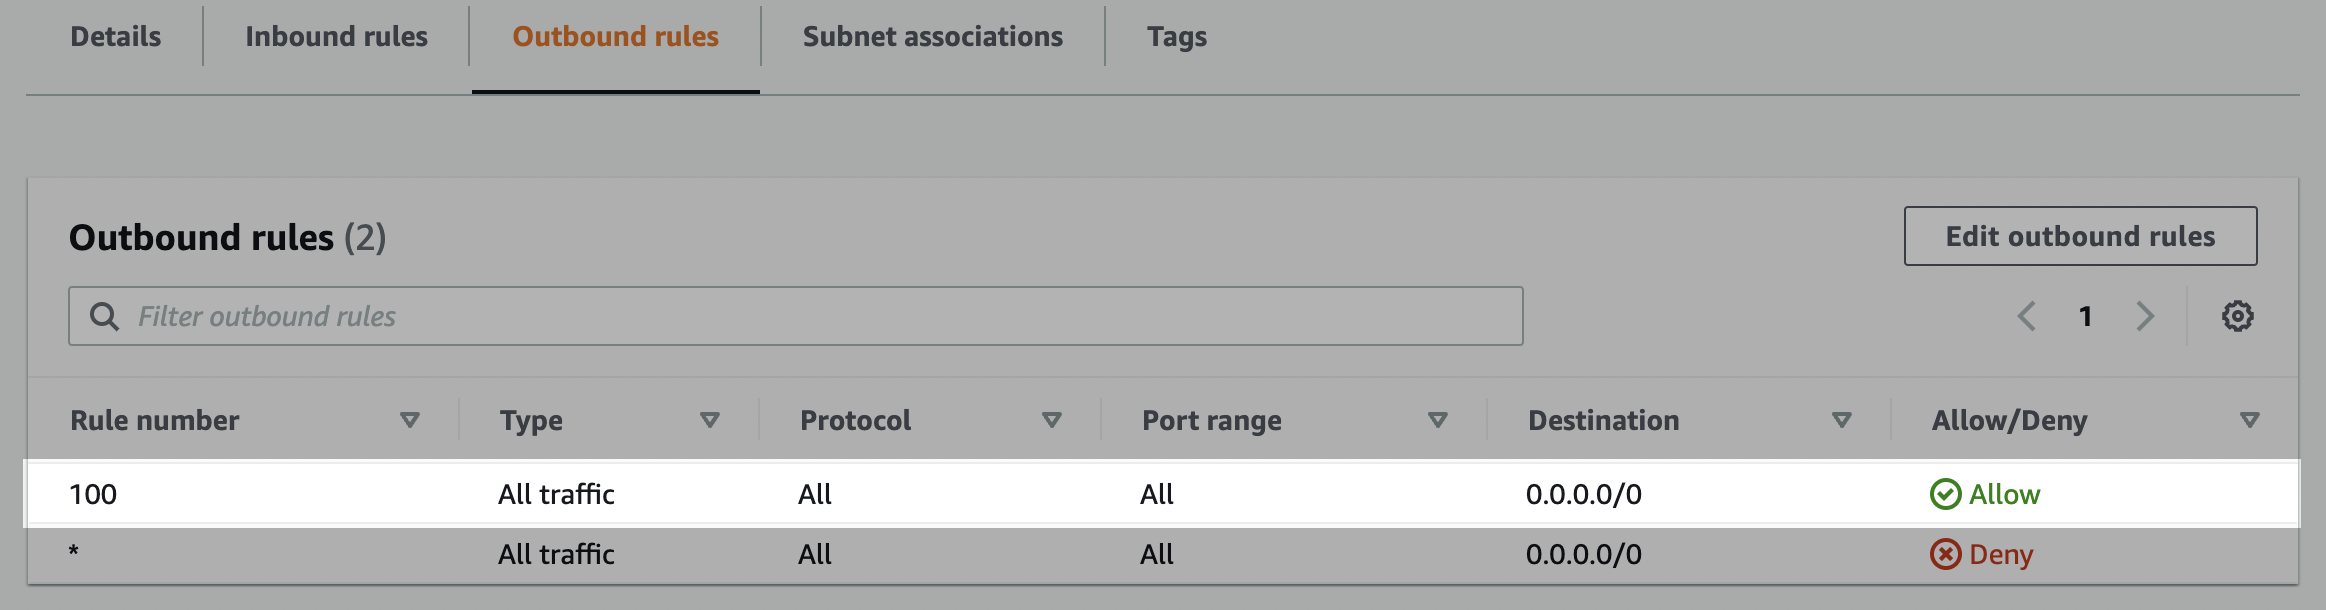
Select the **Outbound rules** tab and check for an existing rule with a **Destination** of `0.0.0.0/0` set to `Allow`. This is a default rule created by AWS, and if it already exists, you are done. Otherwise, click **Edit outbound rules** and add a rule allowing outbound traffic to ports `1024` to `65535` for **Destination** `0.0.0.0/0`.
In your firewall or security group, create a rule that allows:
* Incoming connections to your host and port (usually `5432`) from the static IP.
* Outgoing connections from ports `1024` to `65535` to the static IP.
If your database is not reachable over the public internet, you can connect through an SSH tunnel instead. Provide the bastion host details in Step 4, and add the public key from your account representative to the bastion's `authorized_keys` file.
## Step 3: create a read-only user
Open a connection to your PostgreSQL database using a SQL client.
Create a dedicated user by running the following command. Replace `` and `` with values of your choice.
```sql title="Create user" icon="database" theme={null}
CREATE USER PASSWORD '' NOSUPERUSER NOCREATEDB NOCREATEROLE;
```
Grant the user read-only access to the specific tables you want to sync. Replace `` with the schema that contains those tables, and grant `SELECT` on each table individually.
```sql title="Grant table access" icon="database" expandable theme={null}
GRANT USAGE ON SCHEMA "" TO ;
GRANT SELECT ON ""."" TO ;
GRANT SELECT ON ""."" TO ;
```
Repeat this for every schema that contains tables you want to sync.
To grant access to every table in a schema instead of listing tables individually, grant `SELECT` on all tables in the schema.
```sql title="Grant all tables" icon="database" theme={null}
GRANT USAGE ON SCHEMA "" TO ;
GRANT SELECT ON ALL TABLES IN SCHEMA "" TO ;
```
## Step 4: submit your connection details
Provide the following details to complete the source setup:
1. The **name** is a descriptive name of the source.
2. The **host** (for example, `your-db.sd8jekhrlkhla.us-east-1.rds.amazonaws.com`).
3. The **port** (most likely `5432`).
4. The **database** you want to read from.
5. The **schema** from Step 3.
6. The **username** from Step 3.
7. The **password** from Step 3.
The connection uses SSL by default. If you are connecting through an SSH tunnel, also provide the **SSH host**, **SSH port**, and **SSH username** for your bastion server.