> ## Documentation Index
> Fetch the complete documentation index at: https://docs.prequel.co/llms.txt
> Use this file to discover all available pages before exploring further.
# Quickstart guide
> Configure a Prequel Export pipeline end to end and sync data to your first customer destination
In this guide, you will configure a Prequel export from source to destination. Initial setup typically takes 1-2 hours to complete.
## Select your onboarding experience
Get started with the Prequel agent skill, the Prequel MCP server, a Postman collection, or curl commands.
Skills are an open standard for packaging reusable agent capabilities. Claude Code, Cursor, and other skill-aware agents can all load the Prequel Export skill.
Open the [raw skill file](https://docs.prequel.co/.well-known/agent-skills/prequel-export-quickstart/SKILL.md), copy the contents, and save the file to your agent's skills directory. For Claude Code use `~/.claude/skills/prequel-export-quickstart/SKILL.md`. For Cursor use `.cursor/skills/prequel-export-quickstart/SKILL.md` in your project root and reload the workspace.
Set up a new Prequel Export pipeline from scratch using the prequel-export-quickstart skill. Walk me through creating each resource in order, run the curl commands as we go, and finish by triggering a transfer to verify the pipeline end to end.
The Prequel docs are available as an MCP server, exposing search tools your agent can call to look up the correct API operations and request schemas as it works.
Point your AI tool at `https://docs.prequel.co/mcp`. The setup differs by client:
```bash title="Claude Code" icon="terminal" theme={null}
claude mcp add --transport http prequel https://docs.prequel.co/mcp
```
```json title="Cursor" icon="brackets-curly" expandable theme={null}
// .cursor/mcp.json
{
"mcpServers": {
"prequel": { "url": "https://docs.prequel.co/mcp" }
}
}
```
For full instructions, see the MCP setup guides for [Claude Code](https://docs.claude.com/en/docs/claude-code/mcp) and [Cursor](https://docs.cursor.com/context/model-context-protocol).
Set up a new Prequel Export pipeline from scratch. Use the Prequel MCP server to look up the correct API operations and request schemas as we go, walk me through creating each resource in order, and finish by triggering a transfer to verify the pipeline end to end.
The MCP server is read-only documentation search and does not act on your systems. If you pair it with the agent skill, which runs real API calls, review each command before running it and confirm before pointing an automated run at a customer's production environment.
In Postman, click **Import**, paste the [Prequel Export OpenAPI spec URL](https://docs.prequel.co/generated/openapi-generated-2023-12-01.json), and confirm. Postman generates a complete collection from the spec with one request per operation.
Add a `PREQUEL_API_KEY` variable to the imported collection and reference it from each request's `X-API-KEY` header.
Browse the [API reference](/export/api-reference/overview) and select the operation for the resource you want to create.
Use the **Copy** button on each operation's example request body, paste it into your shell as the `-d` payload, and substitute your values and resource IDs as you go.
## Prerequisites
Access the Prequel Admin UI at [app.prequel.co](https://app.prequel.co), [eu-app.prequel.co](https://eu-app.prequel.co), or your custom domain. You can log in using **Continue with Google** if your company uses Google Workspace, or a one-time passcode sent to your email. If you are unable to log in, contact the Prequel team.
You will need a Prequel API key. For a POC, you will use a staging key, which begins with `sk_staging`. The key in the `X-API-KEY` header routes your request to production or staging based on the key. Contact your Prequel representative if you do not have one.
```bash title="Set your API key" icon="terminal" theme={null}
export PREQUEL_API_KEY=""
```
Every source table you want to transfer needs a unique ID column (e.g. `id`), a last-modified timestamp column (e.g. `updated_at`) for change detection, and a way to filter by tenant, either an organization ID column (e.g. `organization_id`) or a per-tenant schema. See [Change detection](/export/features/change-detection) and [Multi-tenancy](/export/concepts/multi-tenancy).
If your source or destination restricts inbound traffic, allowlist the Prequel static IP before connecting. See [Prequel IP addresses](/export/deployment/prequel-ips).
Confirm your key works against the API. A 200 response means your environment is ready.
```bash title="Verify API access" icon="terminal" theme={null}
curl -H "X-API-KEY: $PREQUEL_API_KEY" https://api.prequel.co/sources
```
**Use the Staging environment**
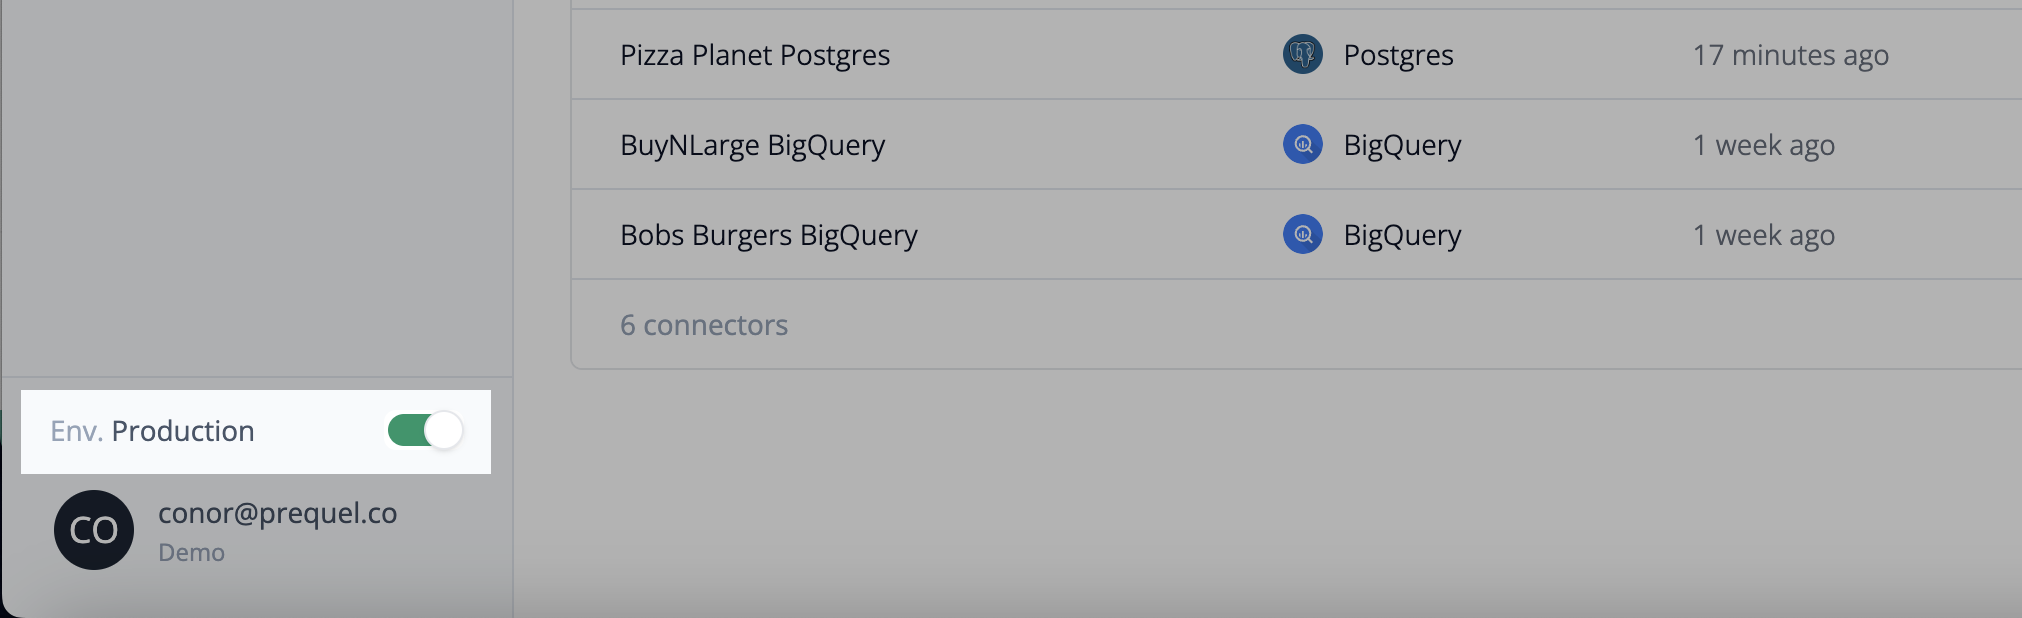
For initial onboarding, use the toggle in the bottom-left corner of the Admin UI to switch to the **Staging** environment. Your staging API key only creates and updates resources within the staging environment.
When you are ready to begin work in your production environment, contact the Prequel team to receive a Production API key and flip to the **Production** environment in the Admin UI.
## Setup overview
A Prequel Export pipeline is built in five steps:
1. **Connect a source** so Prequel can read from your database, warehouse, or object store.
2. **Configure your data model** to declare which tables and columns are shared and how changes are detected.
3. **Add a recipient** to represent the customer you are sharing data with.
4. **Add a destination** that the recipient receives data into.
5. **Trigger a transfer** and verify data lands in the destination.
## Set up your pipeline
Each call returns a resource ID in the response body. Record the IDs as you go, since later steps reference them with placeholders such as `` and ``.
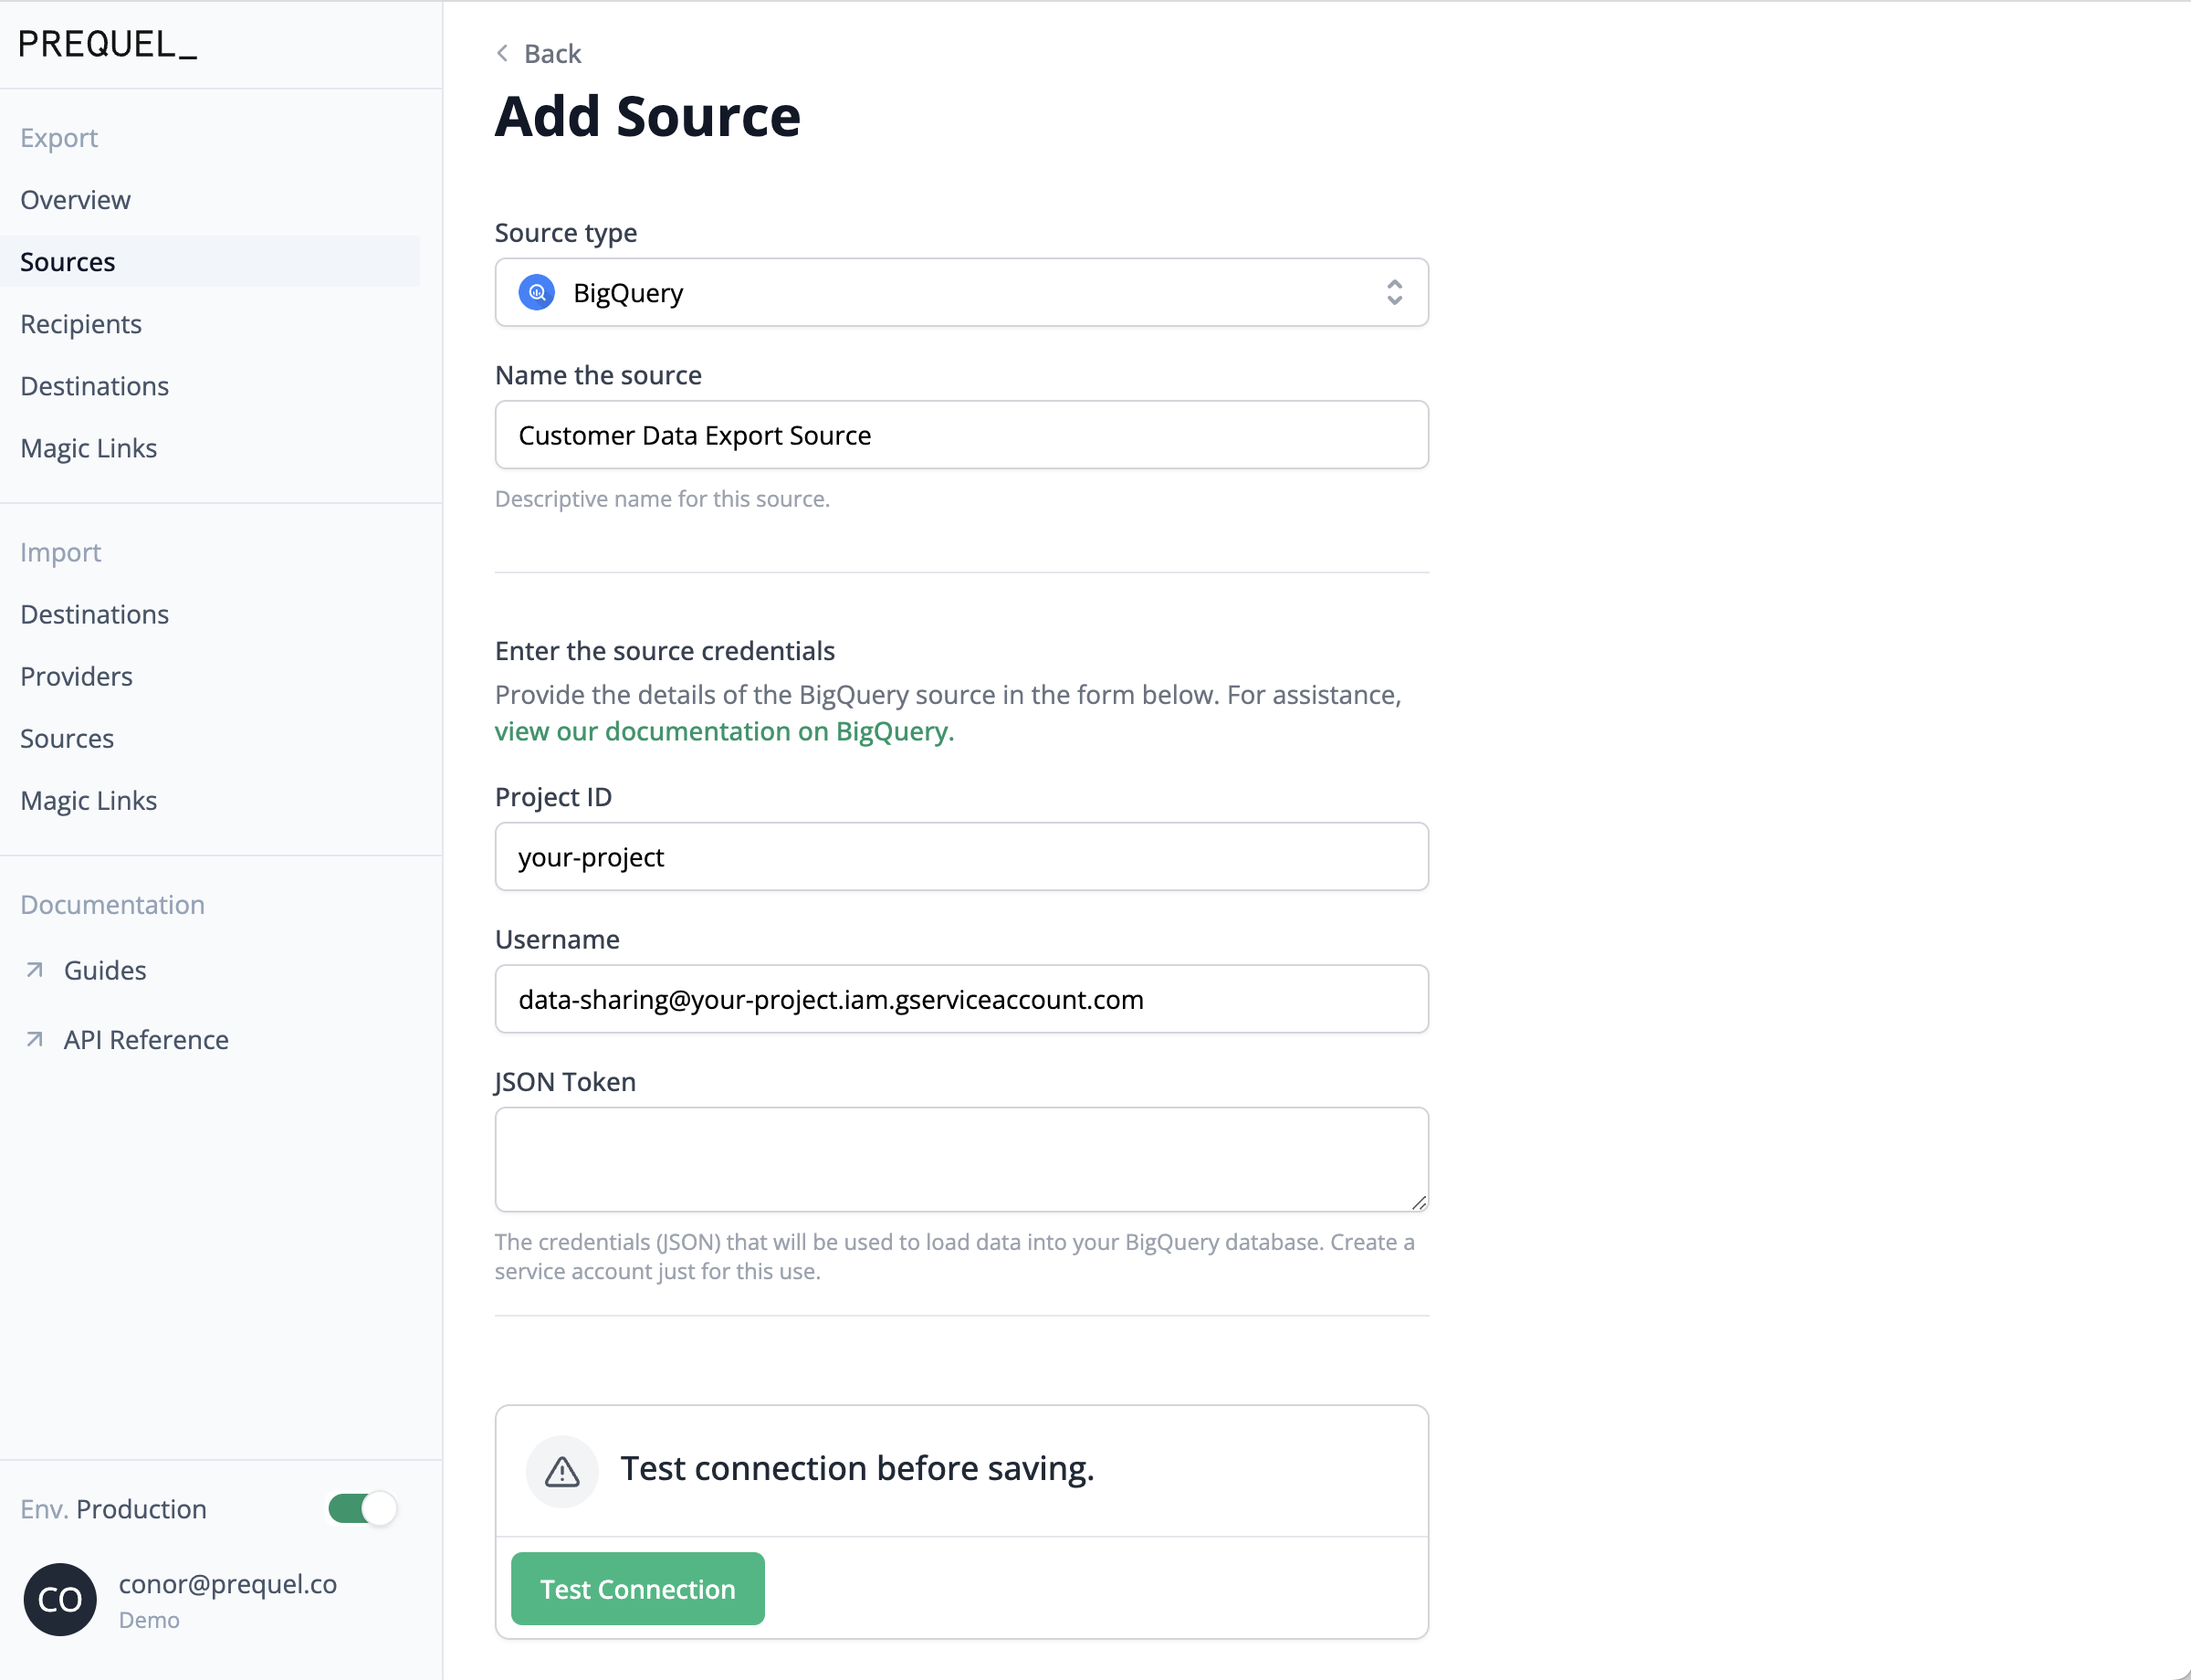
A source is the database, warehouse, or object store Prequel reads from. Create a new user or role in your source, granted read-only permissions on only the datasets you intend to export, to adhere to the principle of least privilege. Then use the per-vendor fields from the [source configuration guides](/export/sources/overview) to add it. See [Sources](/export/concepts/sources).
Open **Sources → Add source**, choose your vendor, enter the connection details, and run the built-in connection test before saving.
```bash title="Create source" icon="terminal" expandable theme={null}
curl -X POST https://api.prequel.co/sources \
-H "X-API-KEY: $PREQUEL_API_KEY" \
-H "Content-Type: application/json" \
-d '{
"source": {
"name": "postgres-read-replica",
"vendor": "postgres",
"host": "read-replica.db.example.com",
"port": 5432,
"database": "production",
"user": "prequel",
"password": ""
}
}'
```
```bash title="Test connection" icon="terminal" theme={null}
curl -X POST https://api.prequel.co/sources//test-connection \
-H "X-API-KEY: $PREQUEL_API_KEY"
```
A model declares which source table is shared, which columns map to the destination, how rows are filtered per tenant, and how changes are detected. Models are defined as config files: store them in a Git repository and publish them with the [GitHub Action](/export/integrations/github-action), or post them to the API directly. See [Models](/export/concepts/models). Posting a [model](/export/api-reference/models/create-model) validates it against the source unless `skip_model_validation` is set.
**Is your source schema-tenanted?**
Prequel environments are set to multi-tenant mode by default. If your source uses one schema per customer with identical tables across schemas (schema-tenanted), contact the Prequel team to switch your environment to schema-tenanted mode.
```bash title="Create model" icon="terminal" expandable theme={null}
curl -X POST https://api.prequel.co/models \
-H "X-API-KEY: $PREQUEL_API_KEY" \
-H "Content-Type: application/json" \
-d '{
"model": {
"model_name": "events",
"description": "Platform events shared with customers",
"source_id": "",
"source_table": "public.events",
"organization_column": "organization_id",
"columns": [
{ "name_in_source": "id", "name_in_destination": "id", "data_type": "text", "is_primary_key": true },
{ "name_in_source": "event_log", "name_in_destination": "event_log", "data_type": "text" },
{ "name_in_source": "updated_at", "name_in_destination": "updated_at", "data_type": "timestamp", "is_last_modified": true }
]
}
}'
```
A recipient represents one of your customers. The `id_in_provider_system` is the tenant identifier Prequel matches against each model's `organization_column` to filter rows for that customer. See [Recipients](/export/concepts/recipients).
Open **Recipients → Add recipient**, give them a name and their tenant identifier (`id_in_provider_system`), and choose which [products](/export/concepts/products) they receive (or all of them).
Pass `["all"]` for `products` to share every model, or a list of product names to share a subset.
```bash title="Create recipient" icon="terminal" expandable theme={null}
curl -X POST https://api.prequel.co/recipients \
-H "X-API-KEY: $PREQUEL_API_KEY" \
-H "Content-Type: application/json" \
-d '{
"recipient": {
"name": "Acme Corp",
"id_in_provider_system": "acme",
"products": ["all"]
}
}'
```
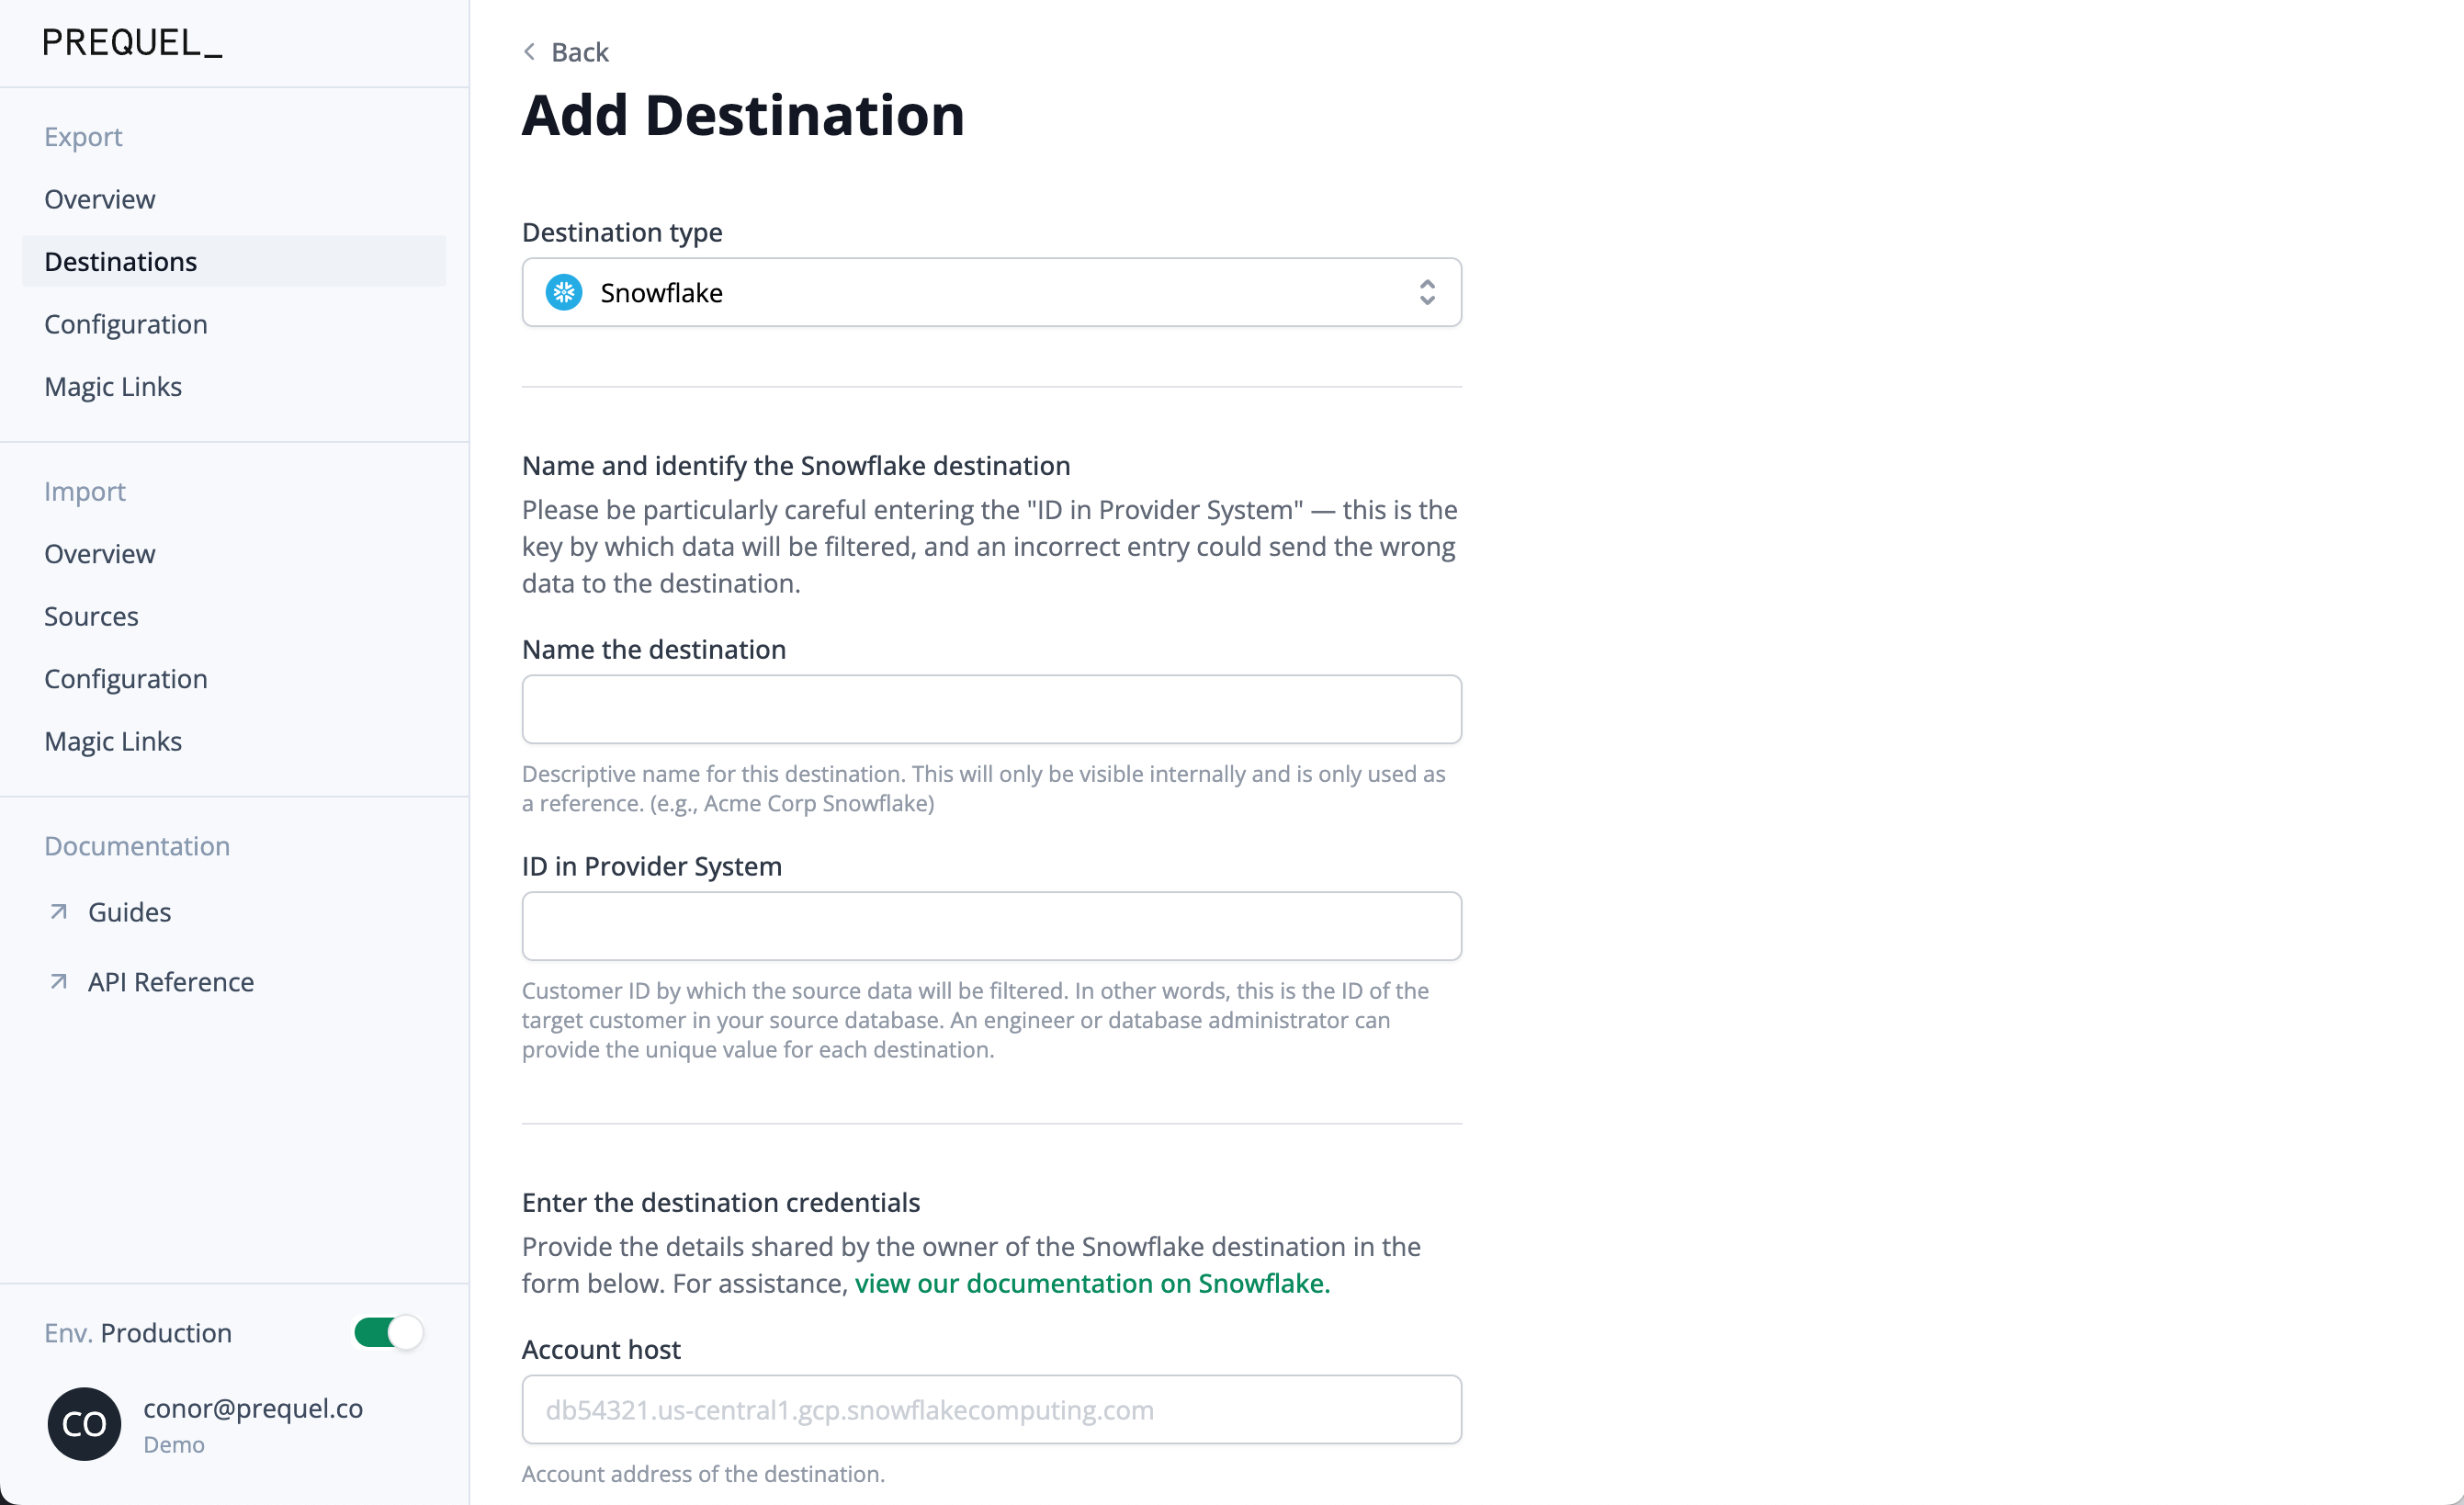
A destination is where a recipient receives their data. Use the per-vendor fields from the [destination configuration guides](/export/destinations/overview) and attach it to the recipient via the [Create destination](/export/api-reference/destinations/create-destination) endpoint. See [Destinations](/export/concepts/destinations).
During initial configuration, we recommend first configuring an internal destination you can access, so you can review landed data as if you were one of your customers. To test a destination type you do not have access to, contact the Prequel team for a sandbox instance.
Open **Destinations → Add destination**, select the recipient and vendor, and enter the connection details. You can open the destination's configuration documentation from the **Documentation** button in the top-right corner of the form. You can also collect destination credentials from your customer with a [magic link](/export/concepts/recipients).
```bash title="Create destination" icon="terminal" expandable theme={null}
curl -X POST https://api.prequel.co/destinations \
-H "X-API-KEY: $PREQUEL_API_KEY" \
-H "Content-Type: application/json" \
-d '{
"destination": {
"name": "acme-snowflake",
"recipient_id": "",
"vendor": "snowflake",
"host": "acme.us-east-1.snowflakecomputing.com",
"database": "PREQUEL",
"schema": "PUBLIC",
"user": "TRANSFER_USER"
}
}'
```
With a source, model, recipient, and destination in place, [start a transfer](/export/api-reference/transfers/create-transfer). The first transfer runs a full refresh; subsequent transfers sync only changed rows.
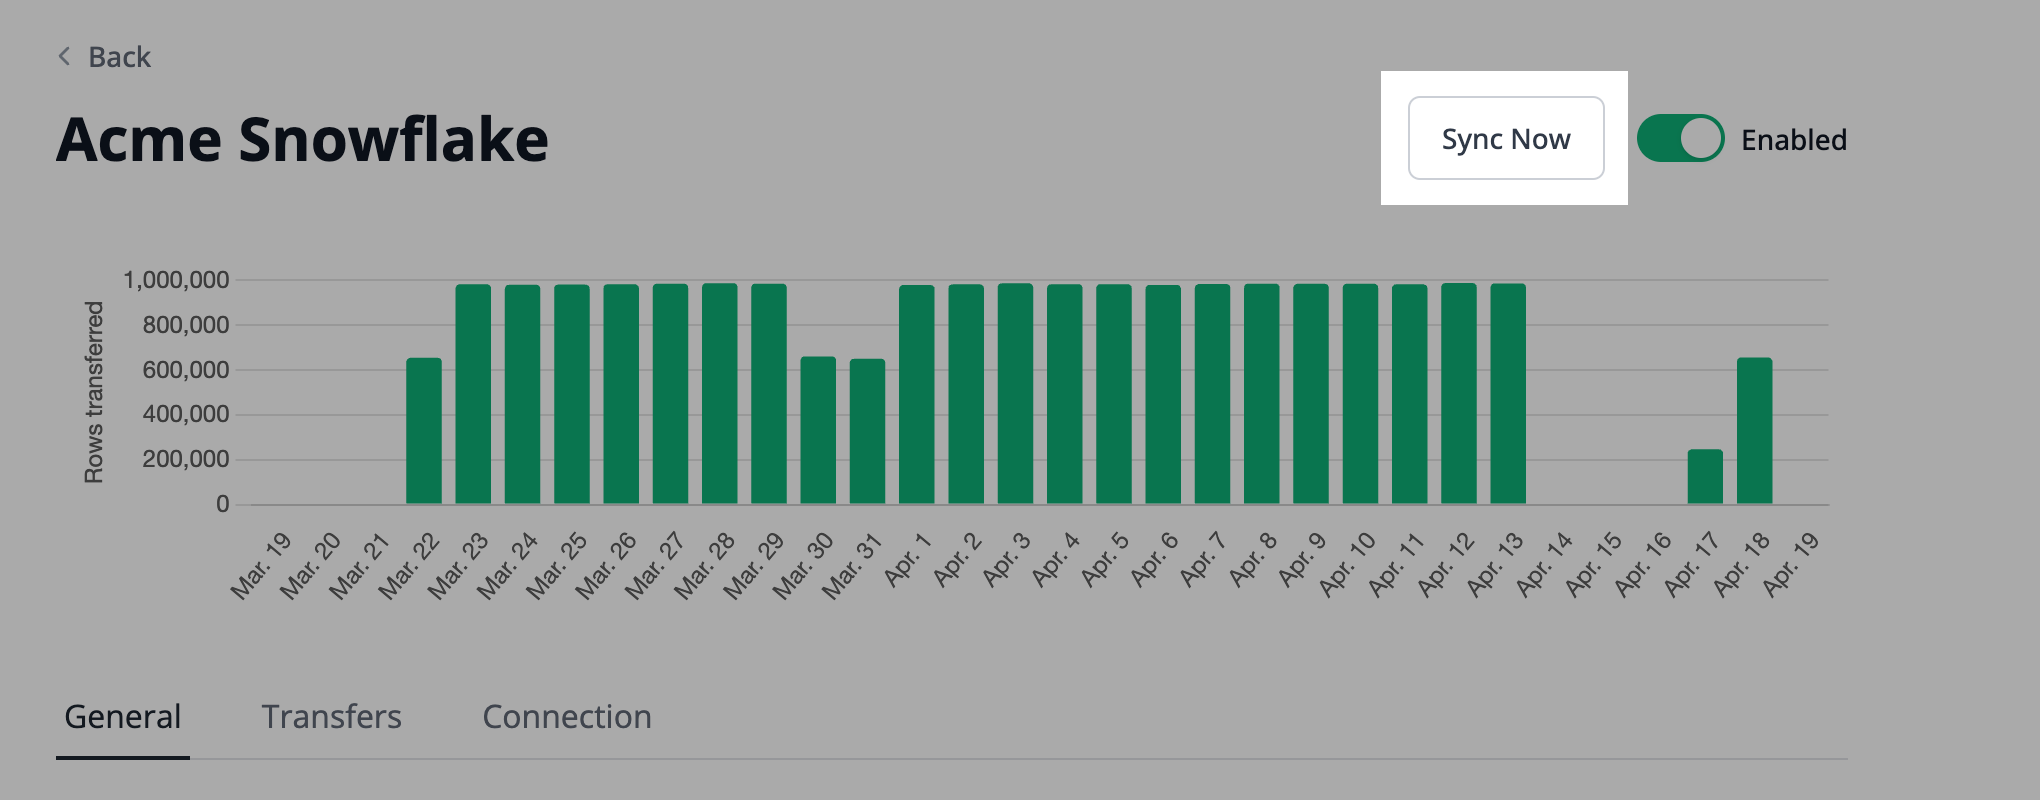
Open the destination and click **Sync now** to kick off a transfer.
```bash title="Trigger transfer" icon="terminal" theme={null}
curl -X POST https://api.prequel.co/destinations//transfer \
-H "X-API-KEY: $PREQUEL_API_KEY"
```
That's it.
Query the destination to confirm data arrived. The [`_transfer_status`](/export/features/transfer-status-table) table records the outcome of each model's transfer.
Once connected, data automatically replicates to the destination on an ongoing basis, starting at the next scheduled frequency interval. To onboard each additional customer, repeat [Add a recipient](#add-a-recipient), [Add a destination](#add-a-destination), and [Trigger a transfer](#trigger-a-transfer).
## Explore integrating with your product
When you are ready to move beyond manual setup, Prequel can be embedded into your product for a self-serve, monitored integration:
Embed destination setup and transfer monitoring directly in your product UI.
Publish and validate model changes from CI instead of by hand.
Get notified on transfer success and failure via webhooks, Datadog, or Slack.
Understand error codes and surface actionable failures to your customers.
## Next steps
Roll out column and type changes to destinations safely.
Tune how often each destination transfers.
Verify source and destination row counts match.
Choose how tenant data is modeled and filtered per recipient.